

Last week, I watched a Japanese TV show, どっちの料理ショー (Dotch Cooking Show), and it was a special episode of 3 ramen masters competing for the title of best ramen in Japan. The show took the audiences step by step through the entire ramen making process. Making a perfect bowl of ramen consists of a lot of elements. Each step has to be taken care of meticulously, from the broth, noodles to toppings.
After watching that episode of ramen cook off, I had cravings for ramen. Luckily, I got packs of Ichiran ramen that my supervisor from previous internship gave me so I can have a taste of it without traveling all the way to Japan.
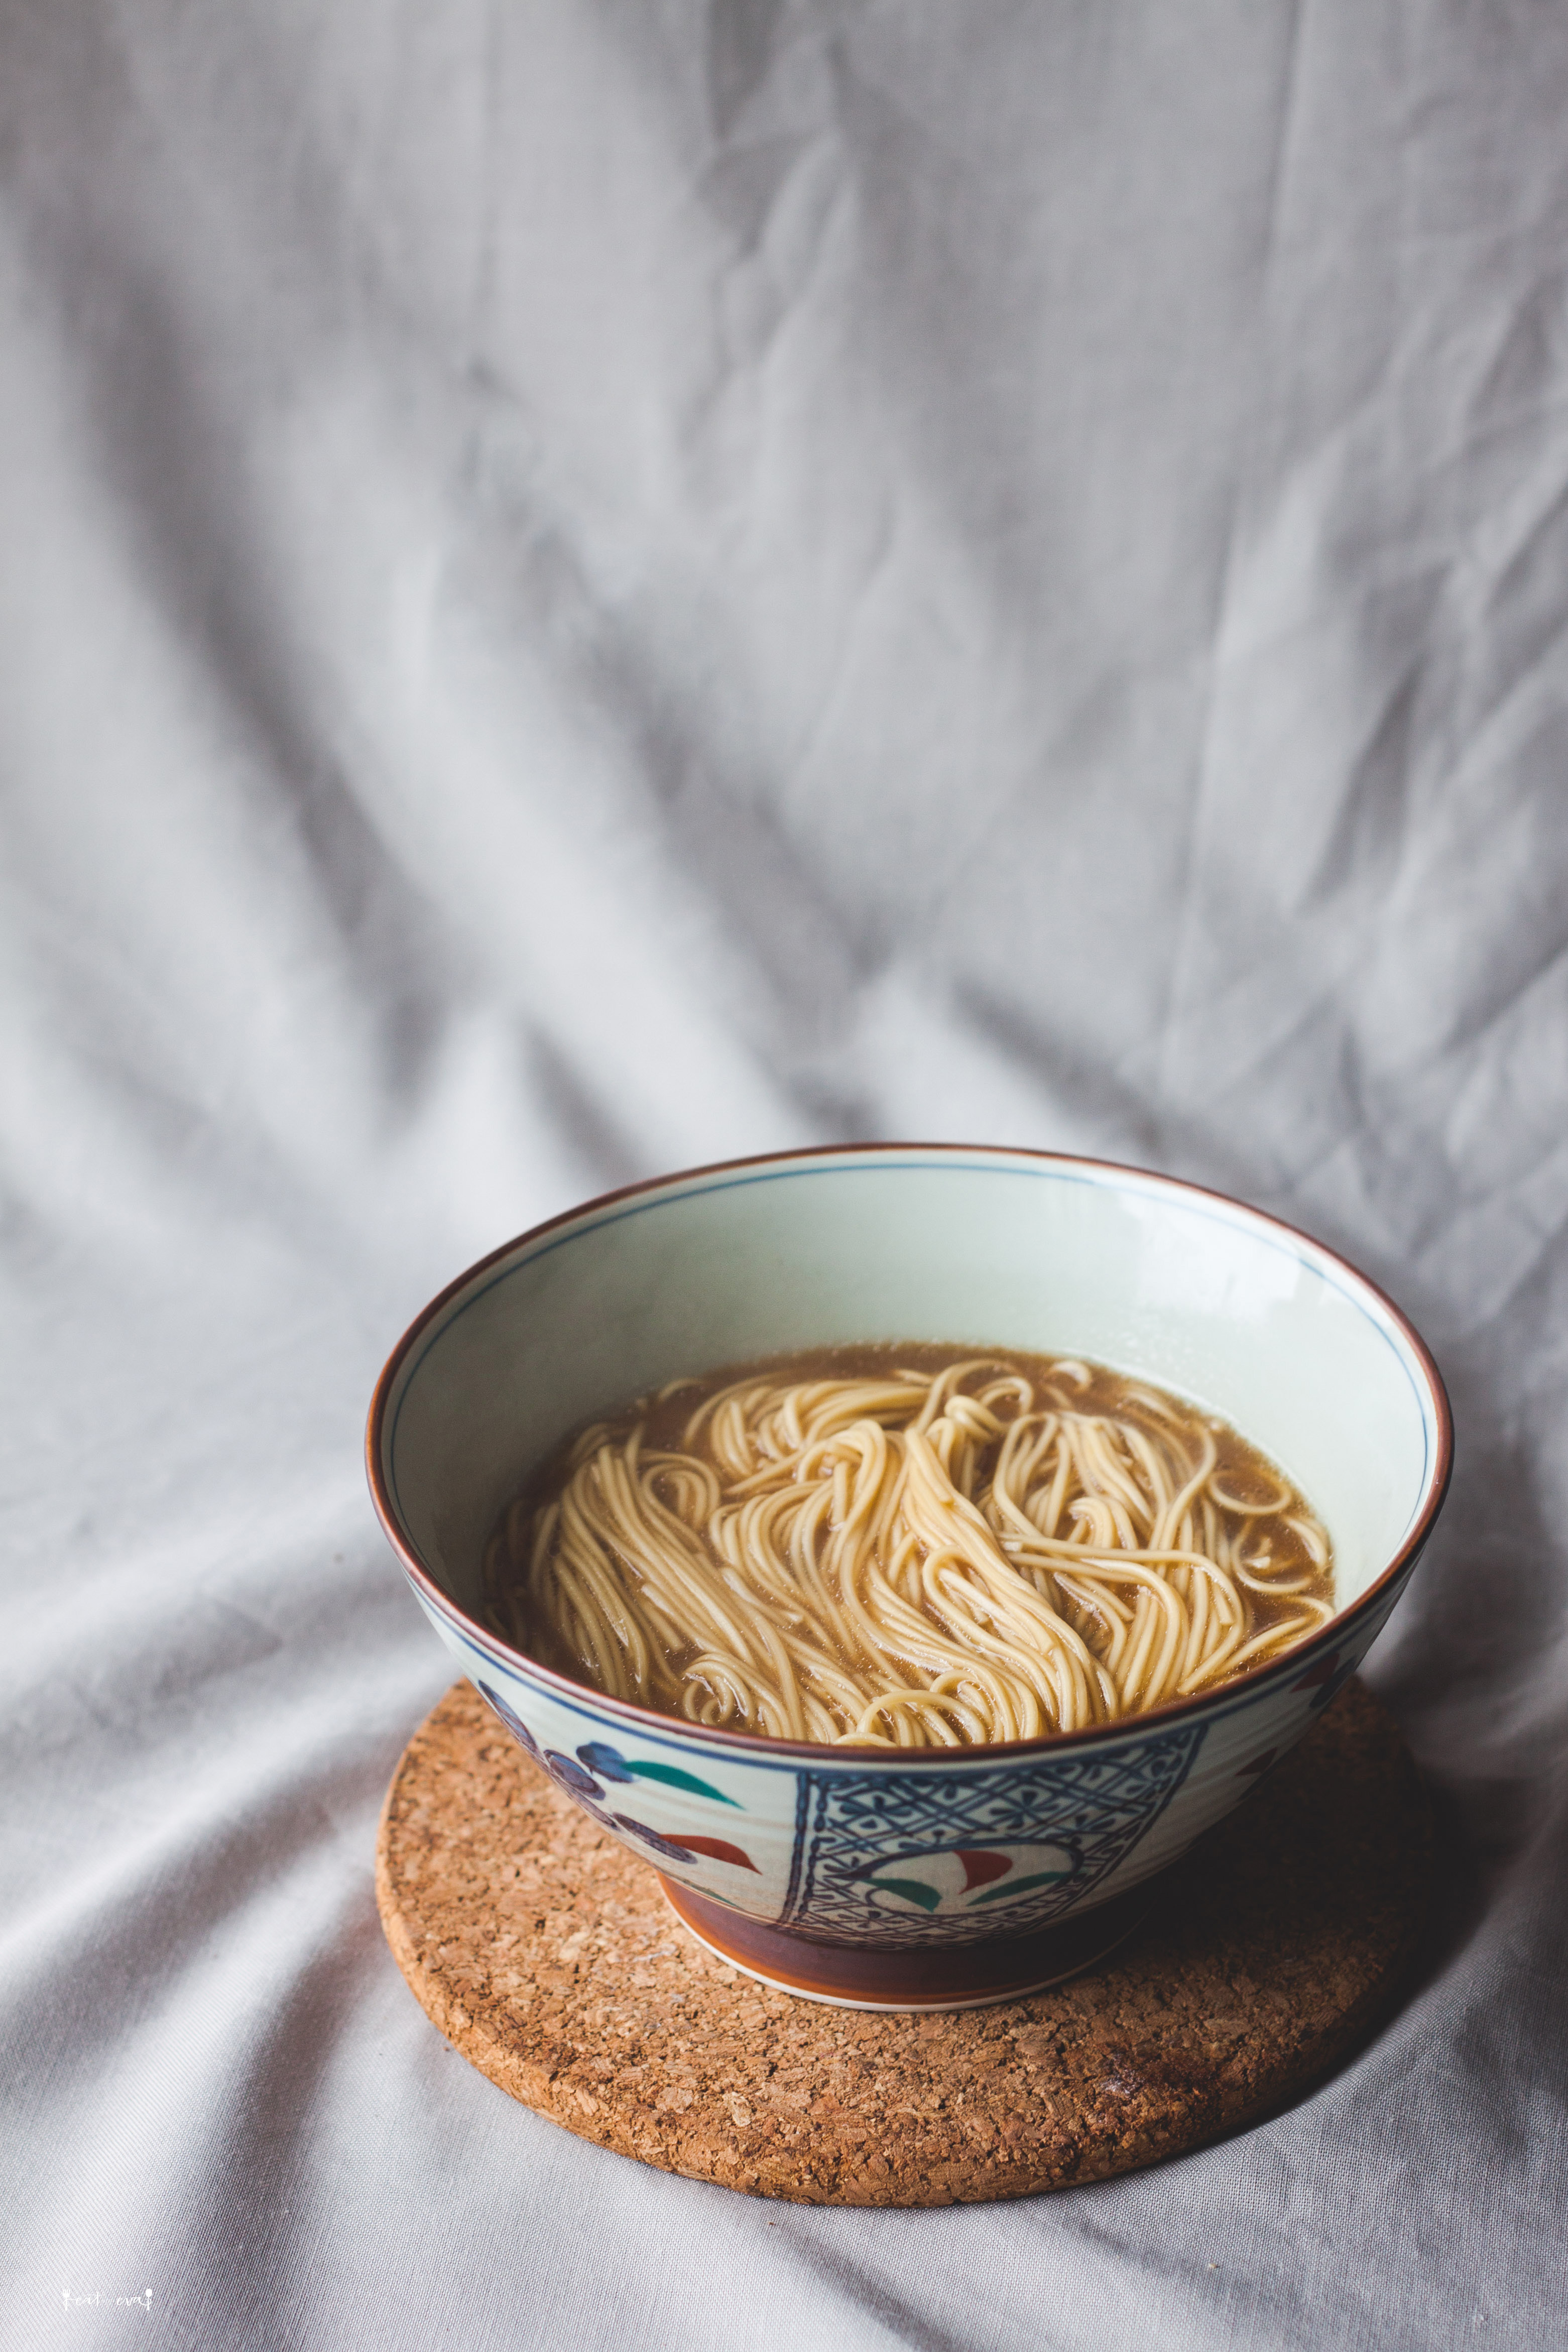
The show presented the formation of a superior bowl of ramen in the order of broth, noodles, then toppings. The broth isn’t as milky as the ones that they serve in store, but the taste was still rich and salty. It didn’t taste like there were any other chemical additives. The round, thin noodles that they use is not my preferred type of noodles, but the texture wasn’t mushy and was still quite springy even we let it sit in the soup for quite a while before dig in.
Since the ramen packs only comes with the broth and noodles, it would be too boring to just have it as it is. As my friend, Helena, and I had been talking about cooking together, so I thought we can elaborated on this! Helena spent every summer at Le Cordon Bleu in Paris, so she’s definitely better at this than me!
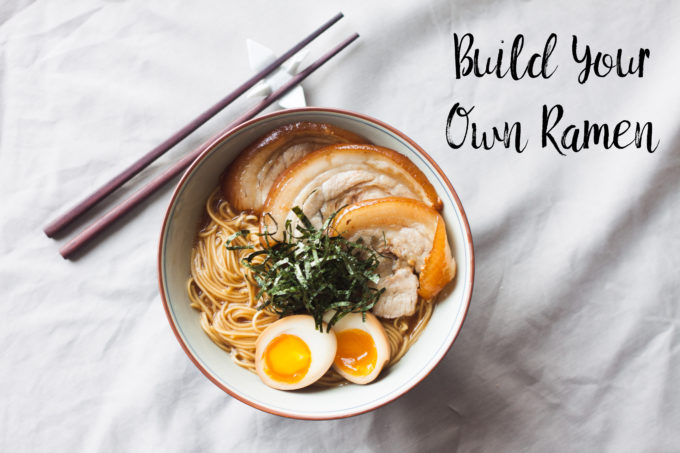
When we were brainstorming ideas, we thought we’d go with classic toppings, but prepared differently, such as the char siu and the soft-boiled eggs. We have light and heavy version.
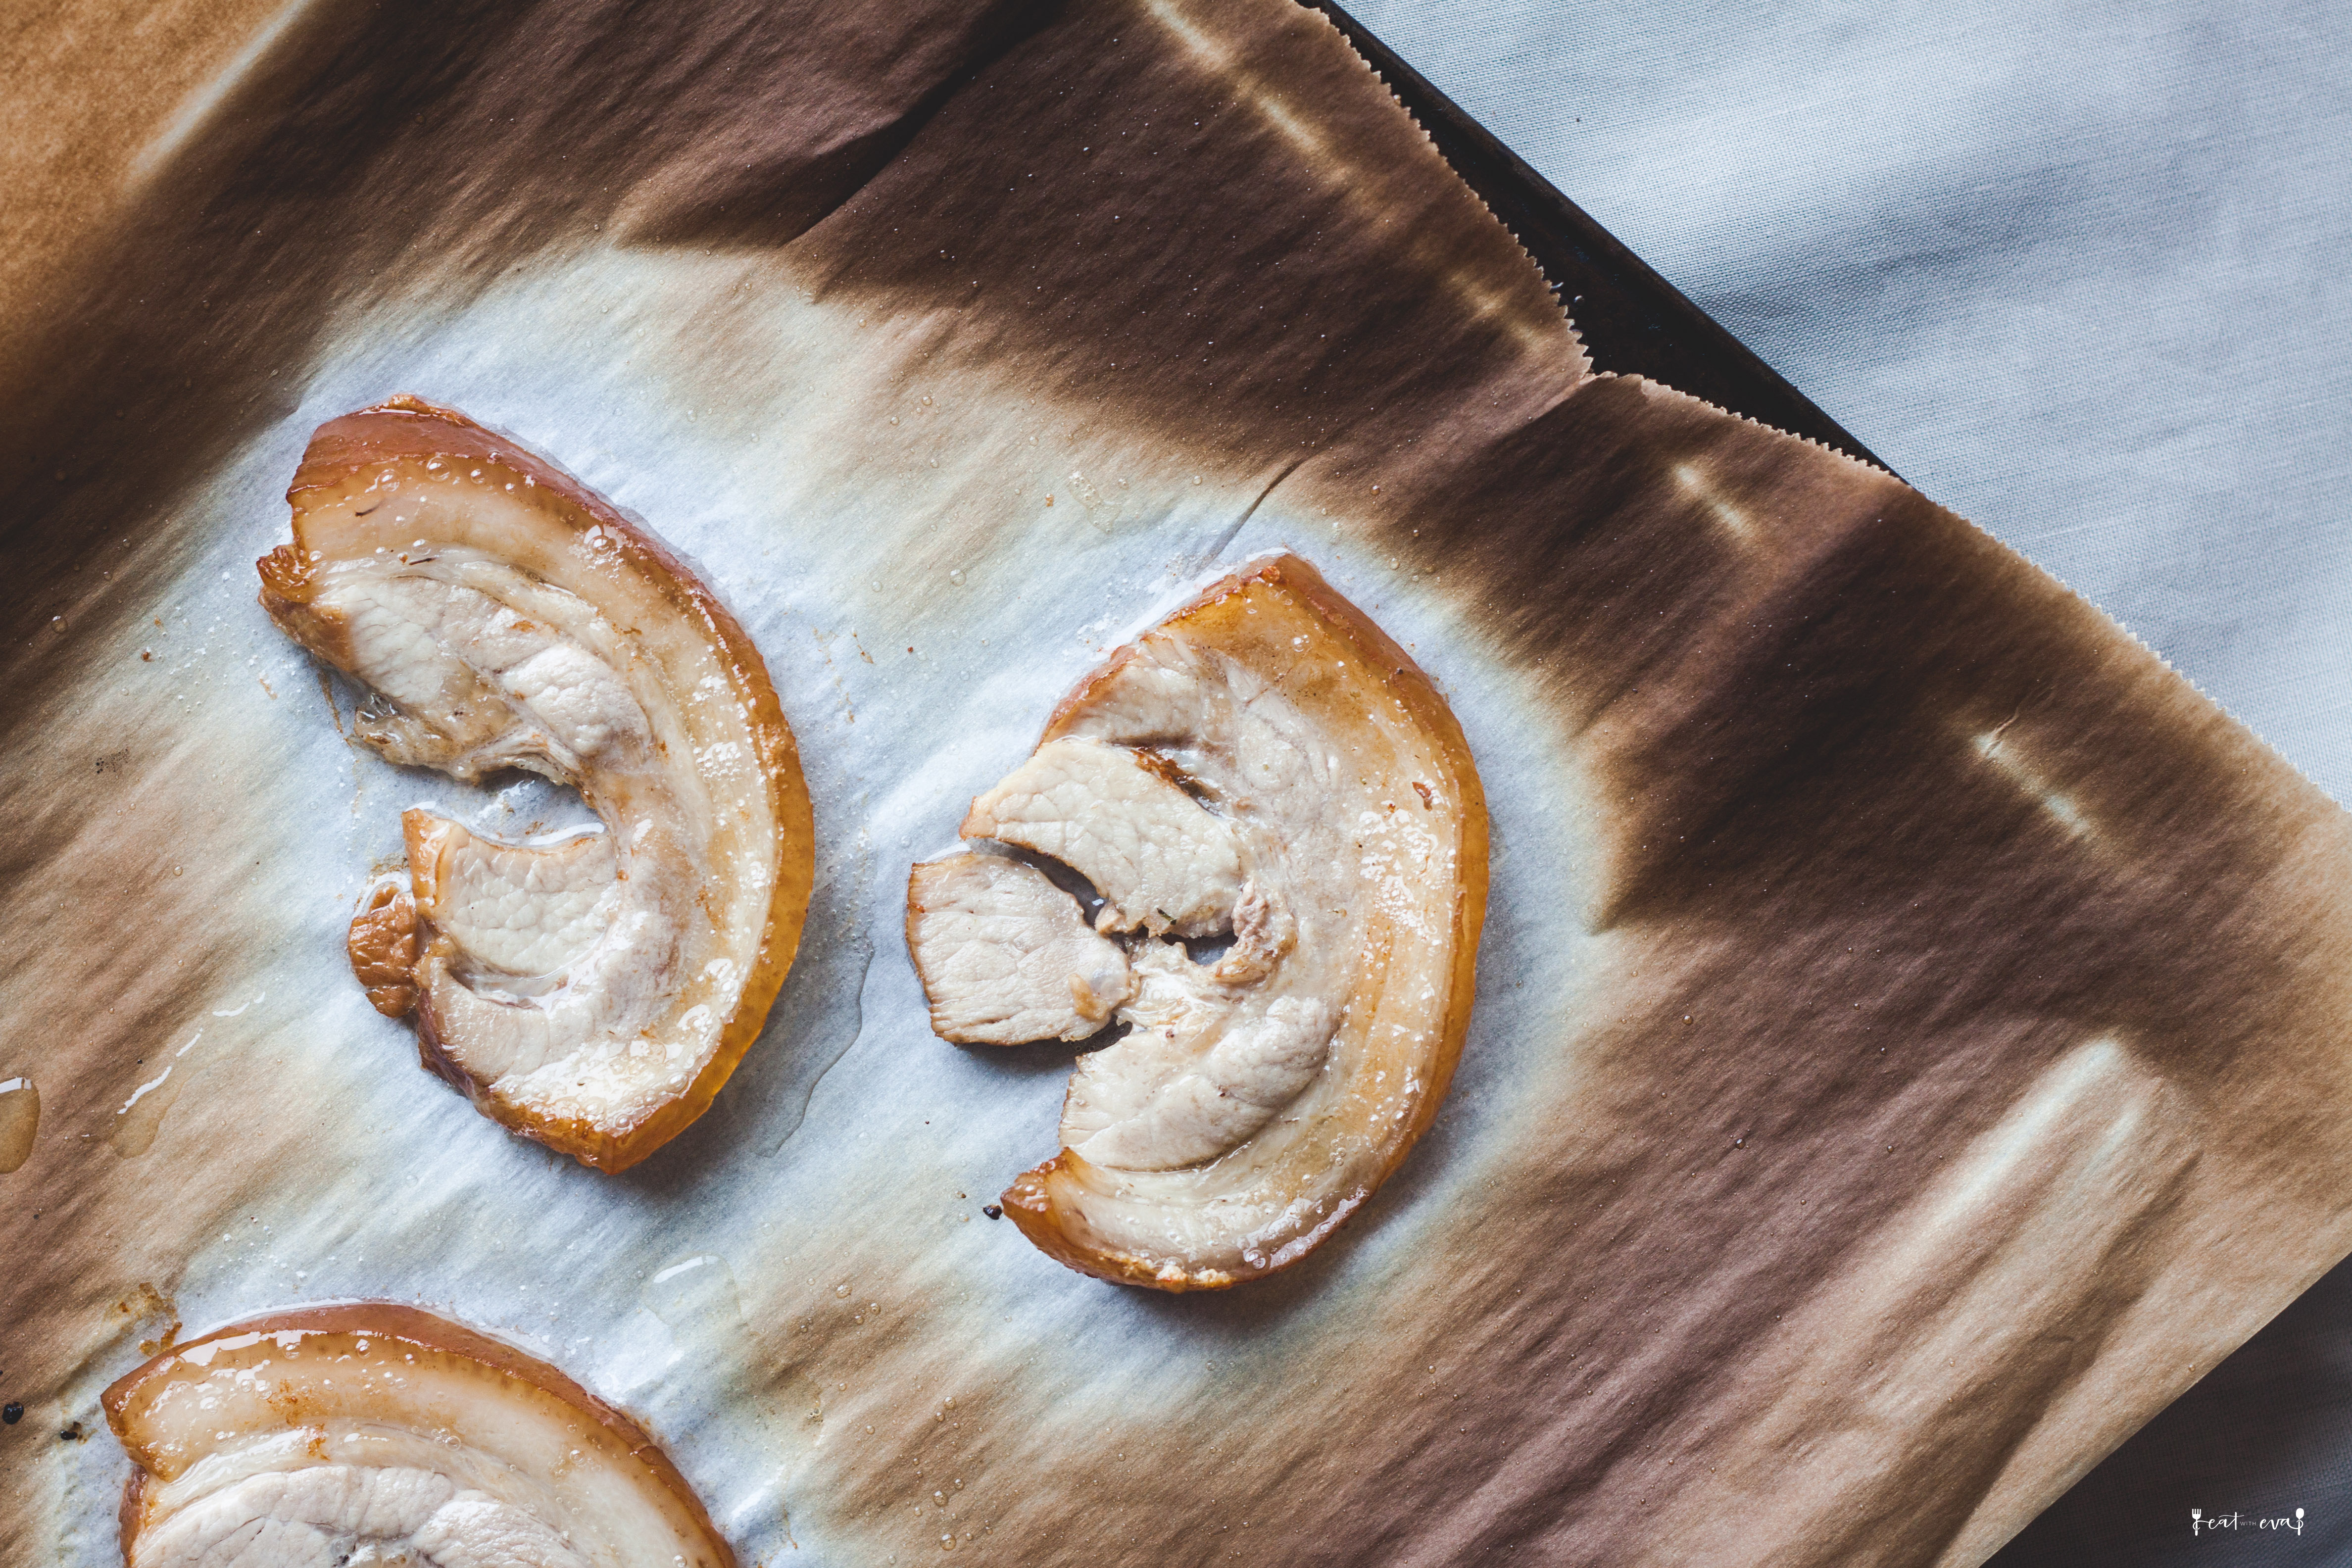
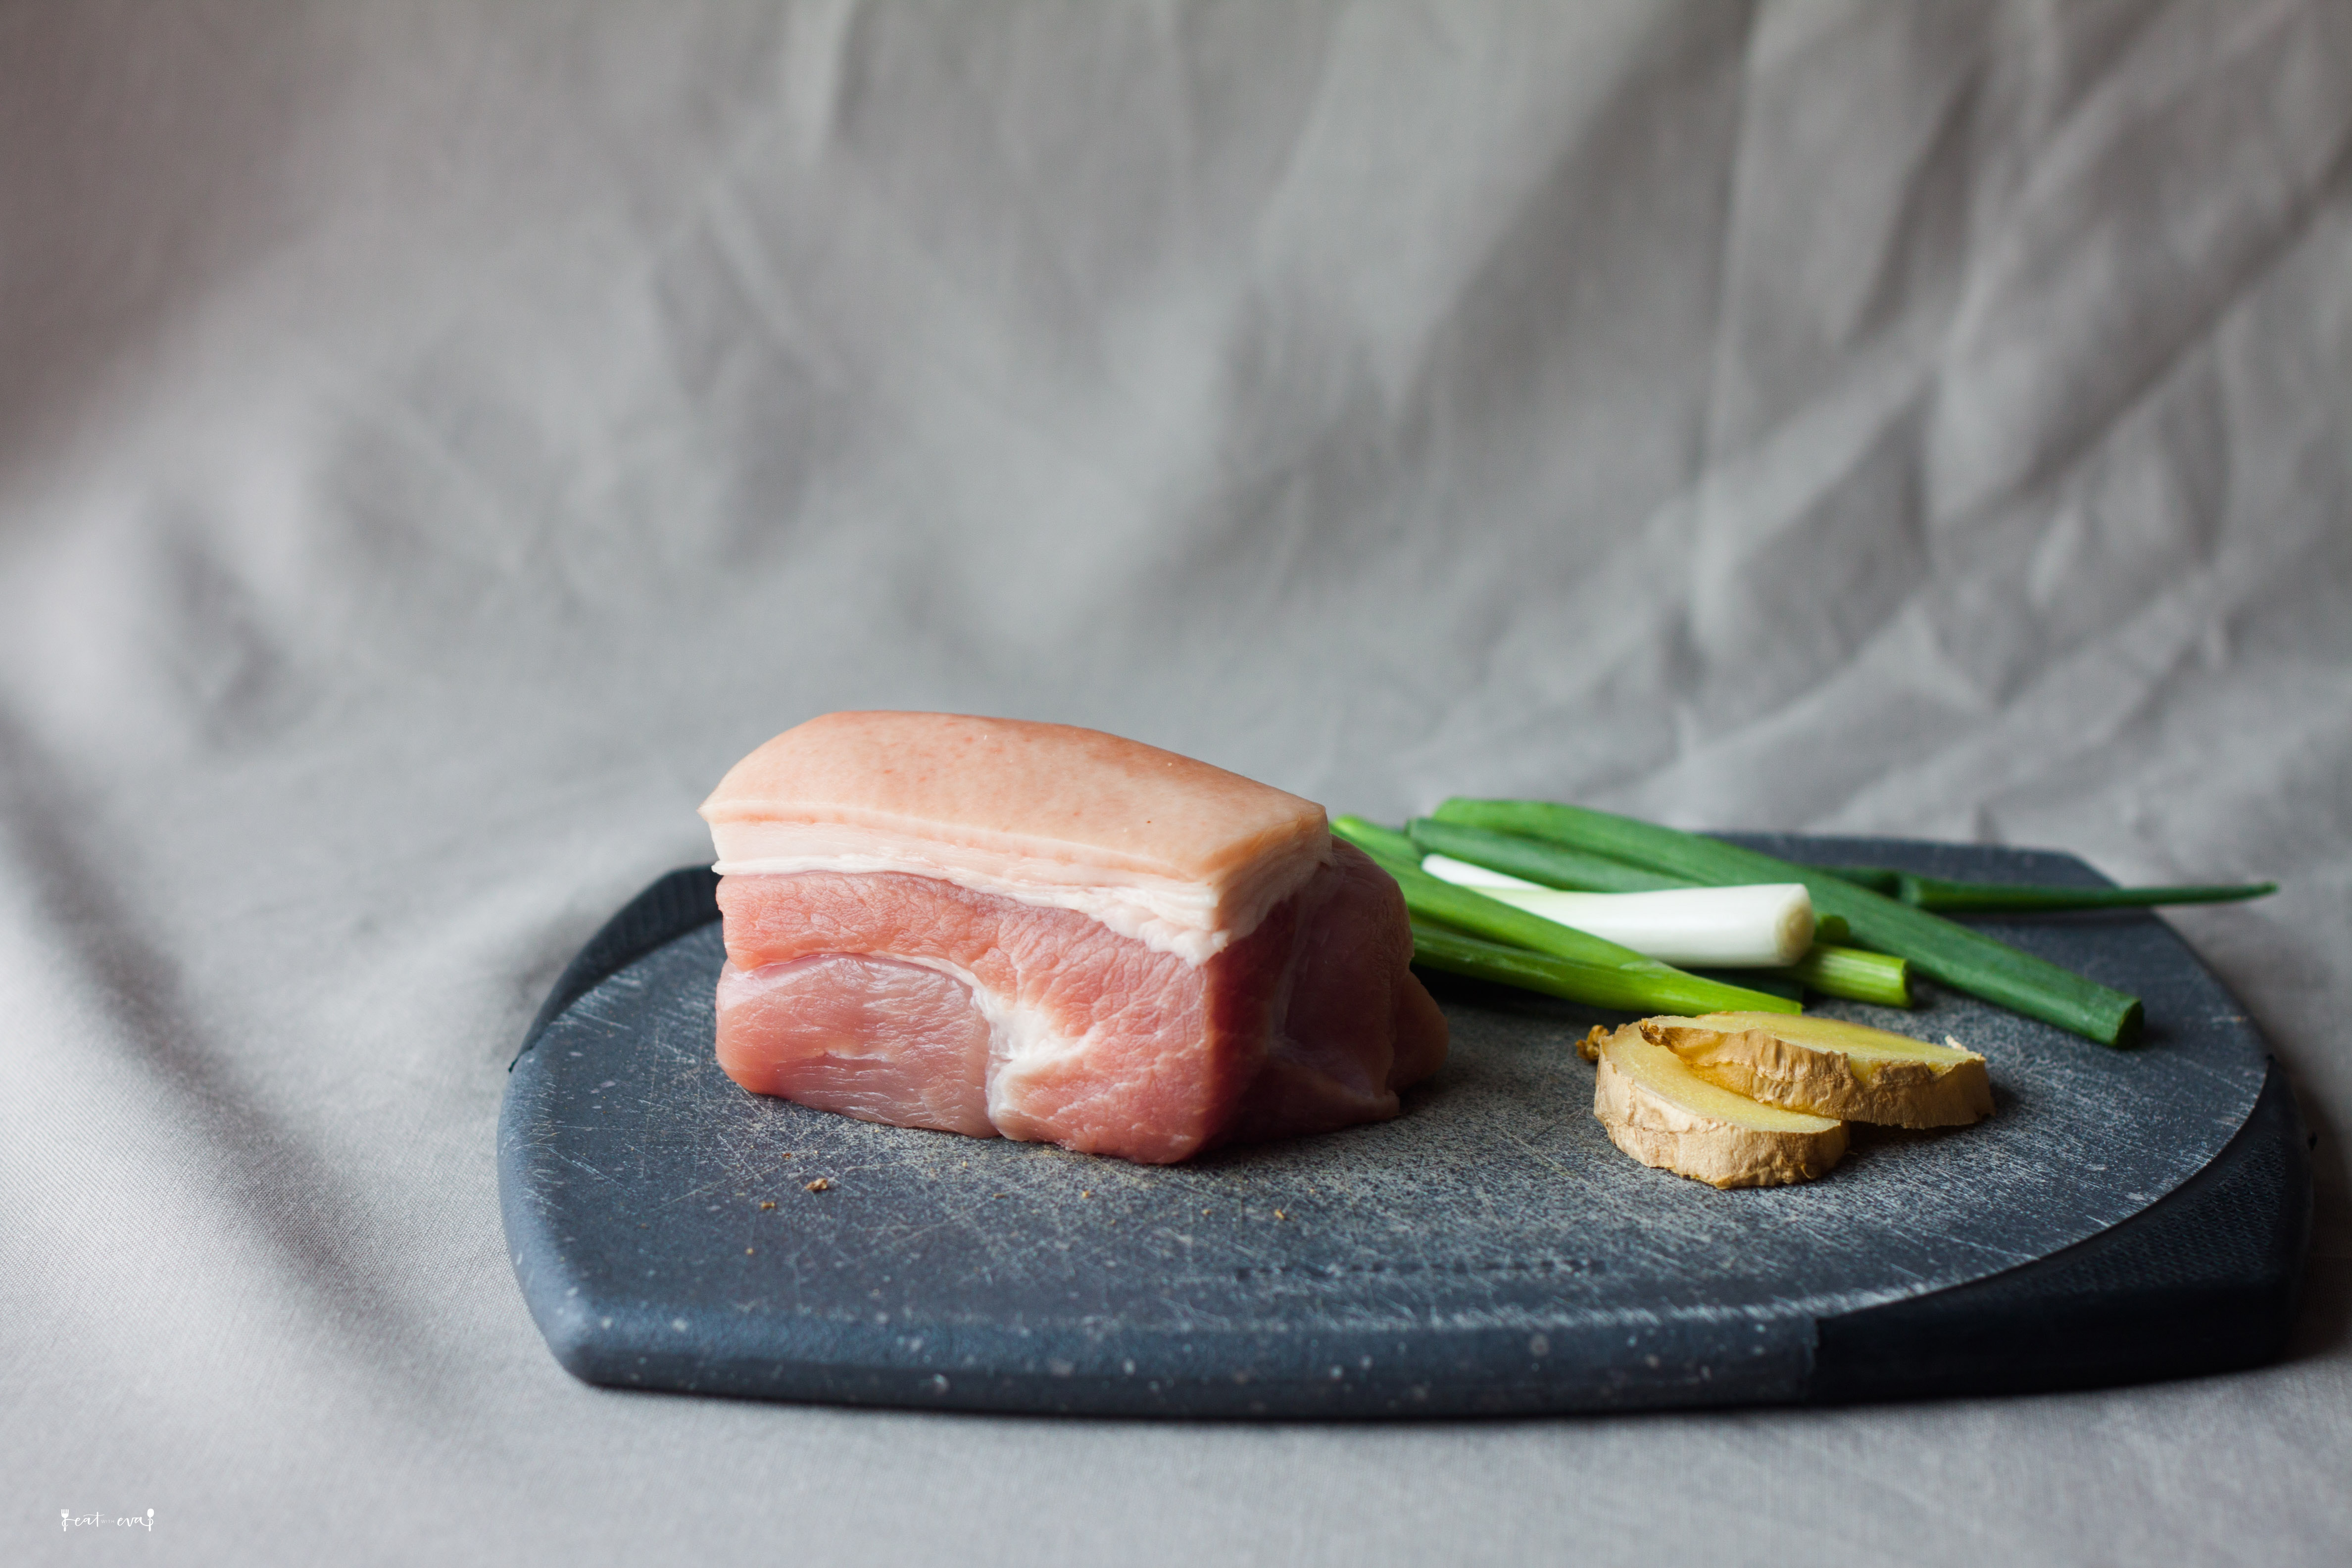
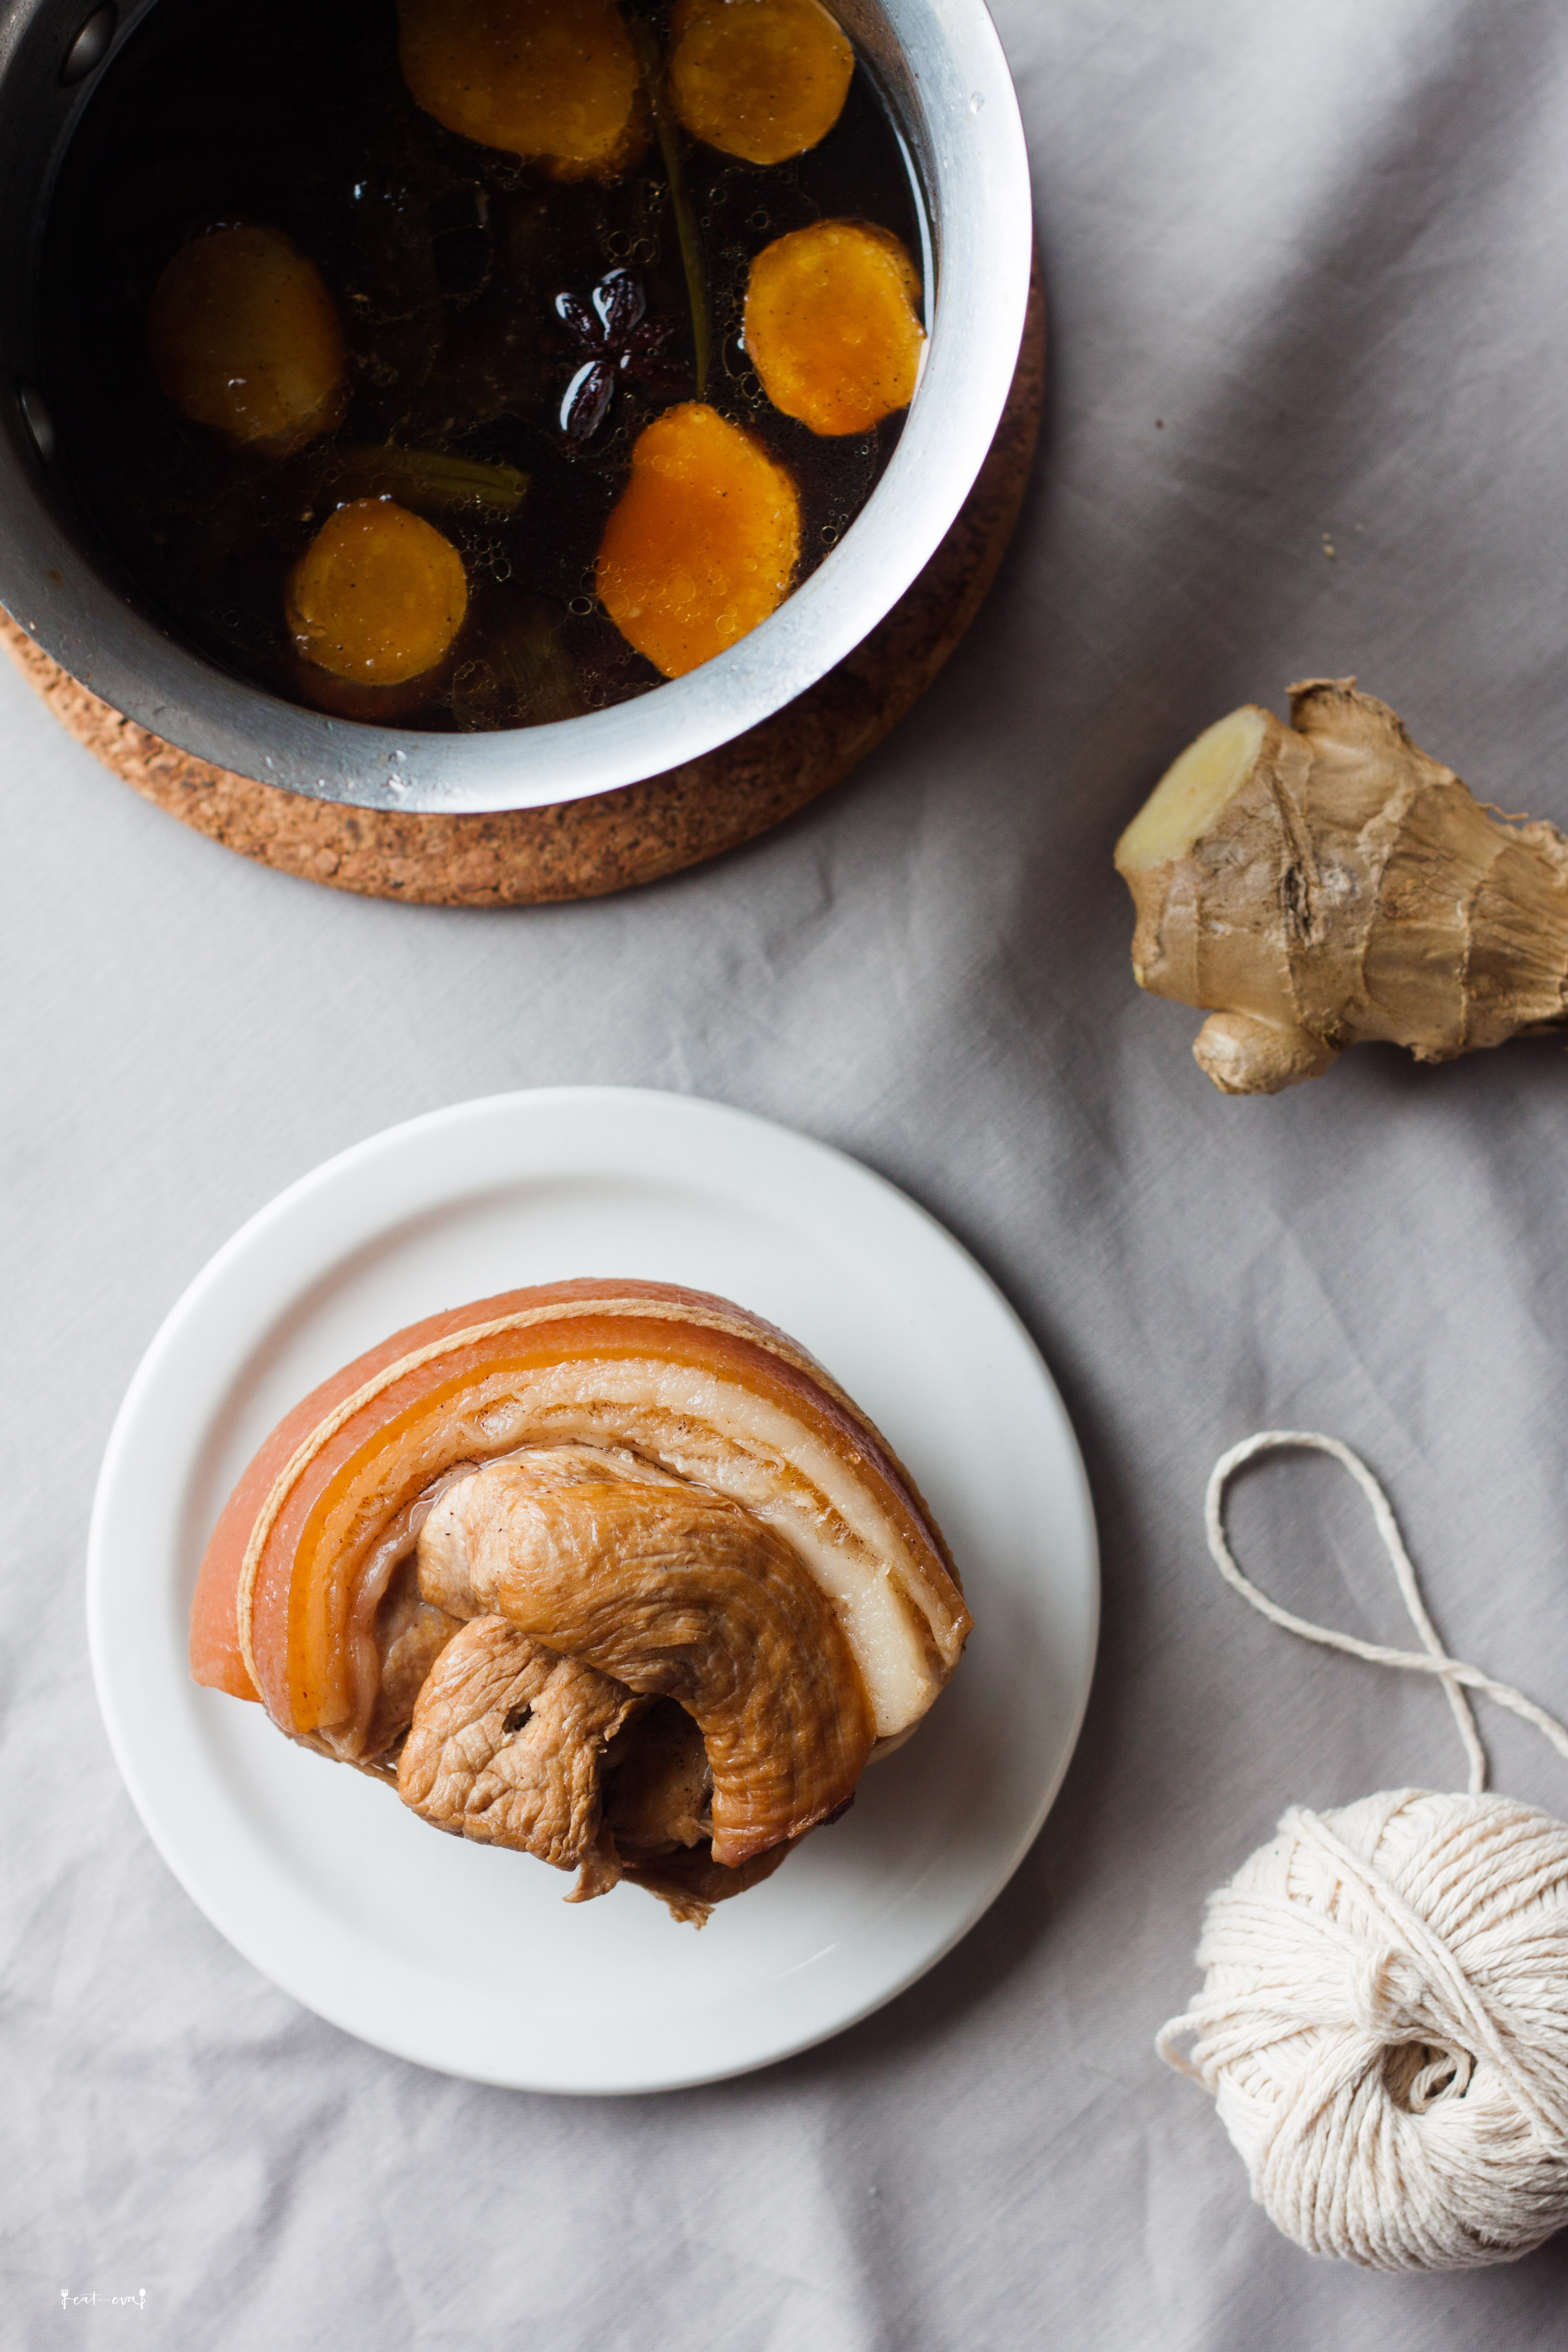
For the pork, we had one as simple as just poaching in salt, scallions, and ginger, while the other was braised with spices, then broiled in oven after sliced. Broiling allows the direct heat to release excess fats, and makes the fatty part a bit crispy! We were originally going to torch it, but ran out of butane, and bought one that didn’t match the torch head. Luckily, Helena’s oven has the broil function, which does the same thing.

Of course, ramen isn’t complete without eggs, and for sure we also made two versions of it! Soft-boiled eggs and Japanese marinated soft boiled eggs (See recipe). Since the eggs need to be marinated overnight, Helena prepped it the night before (thank you!!) to save us some times.
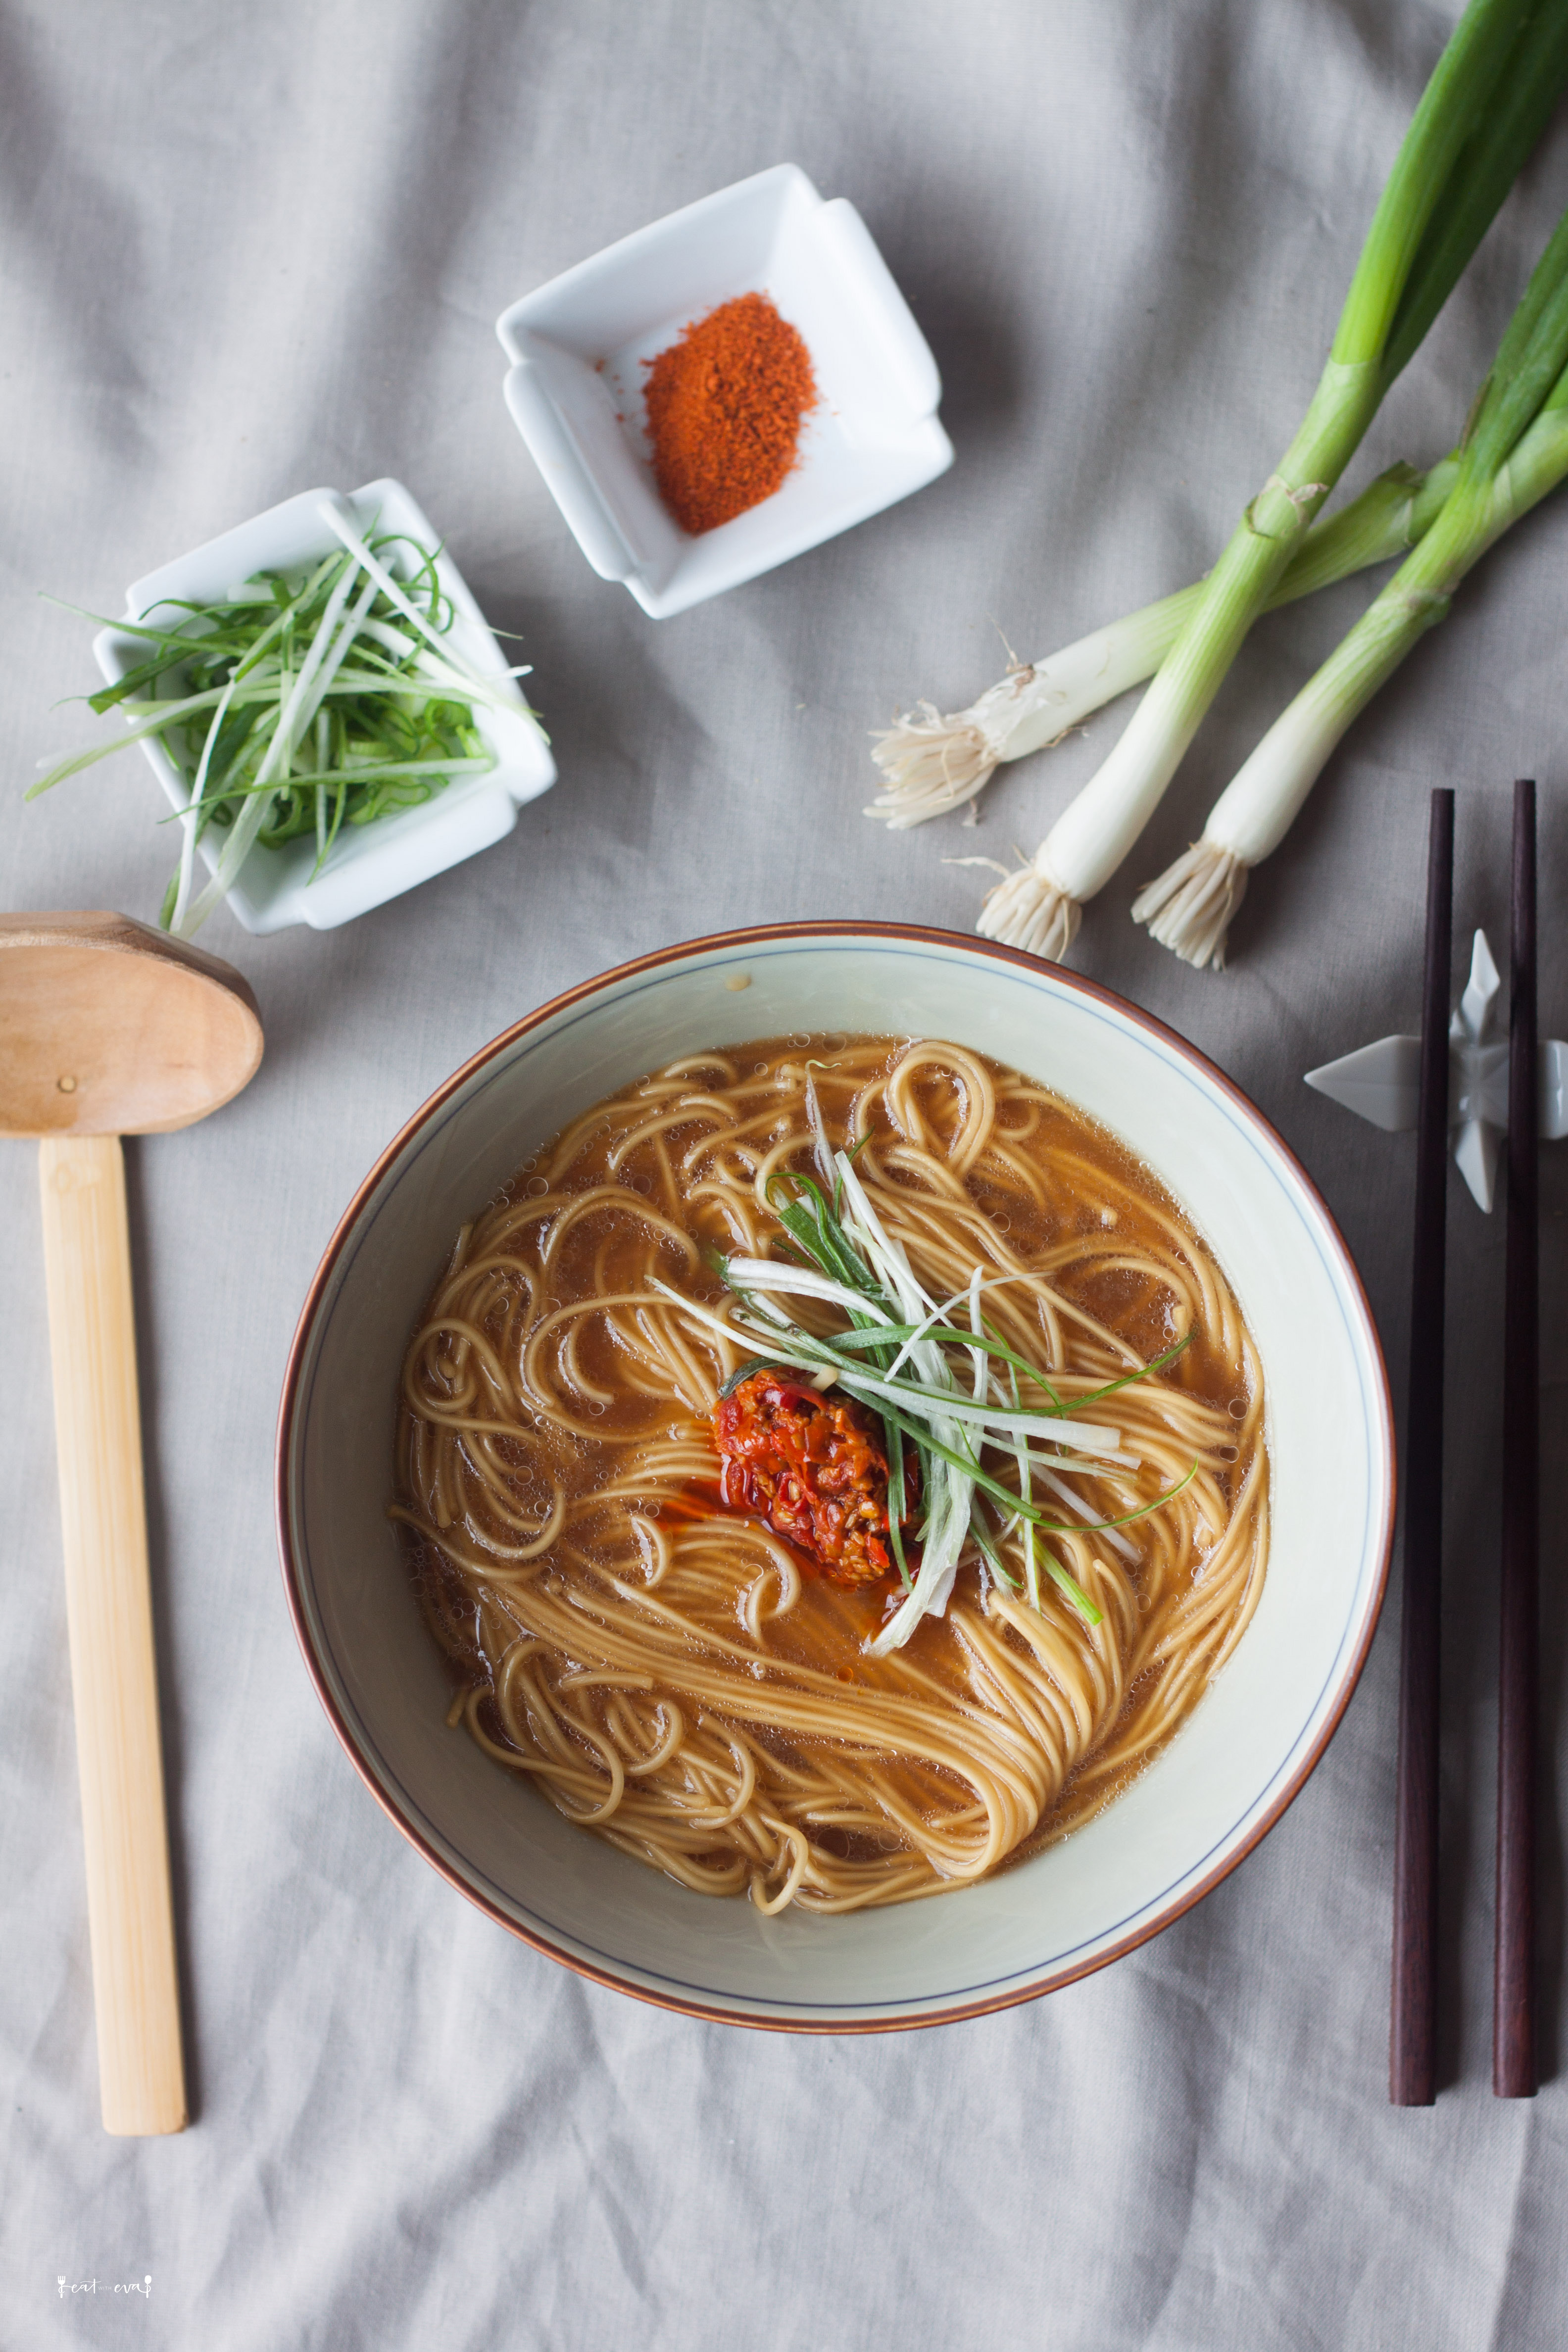
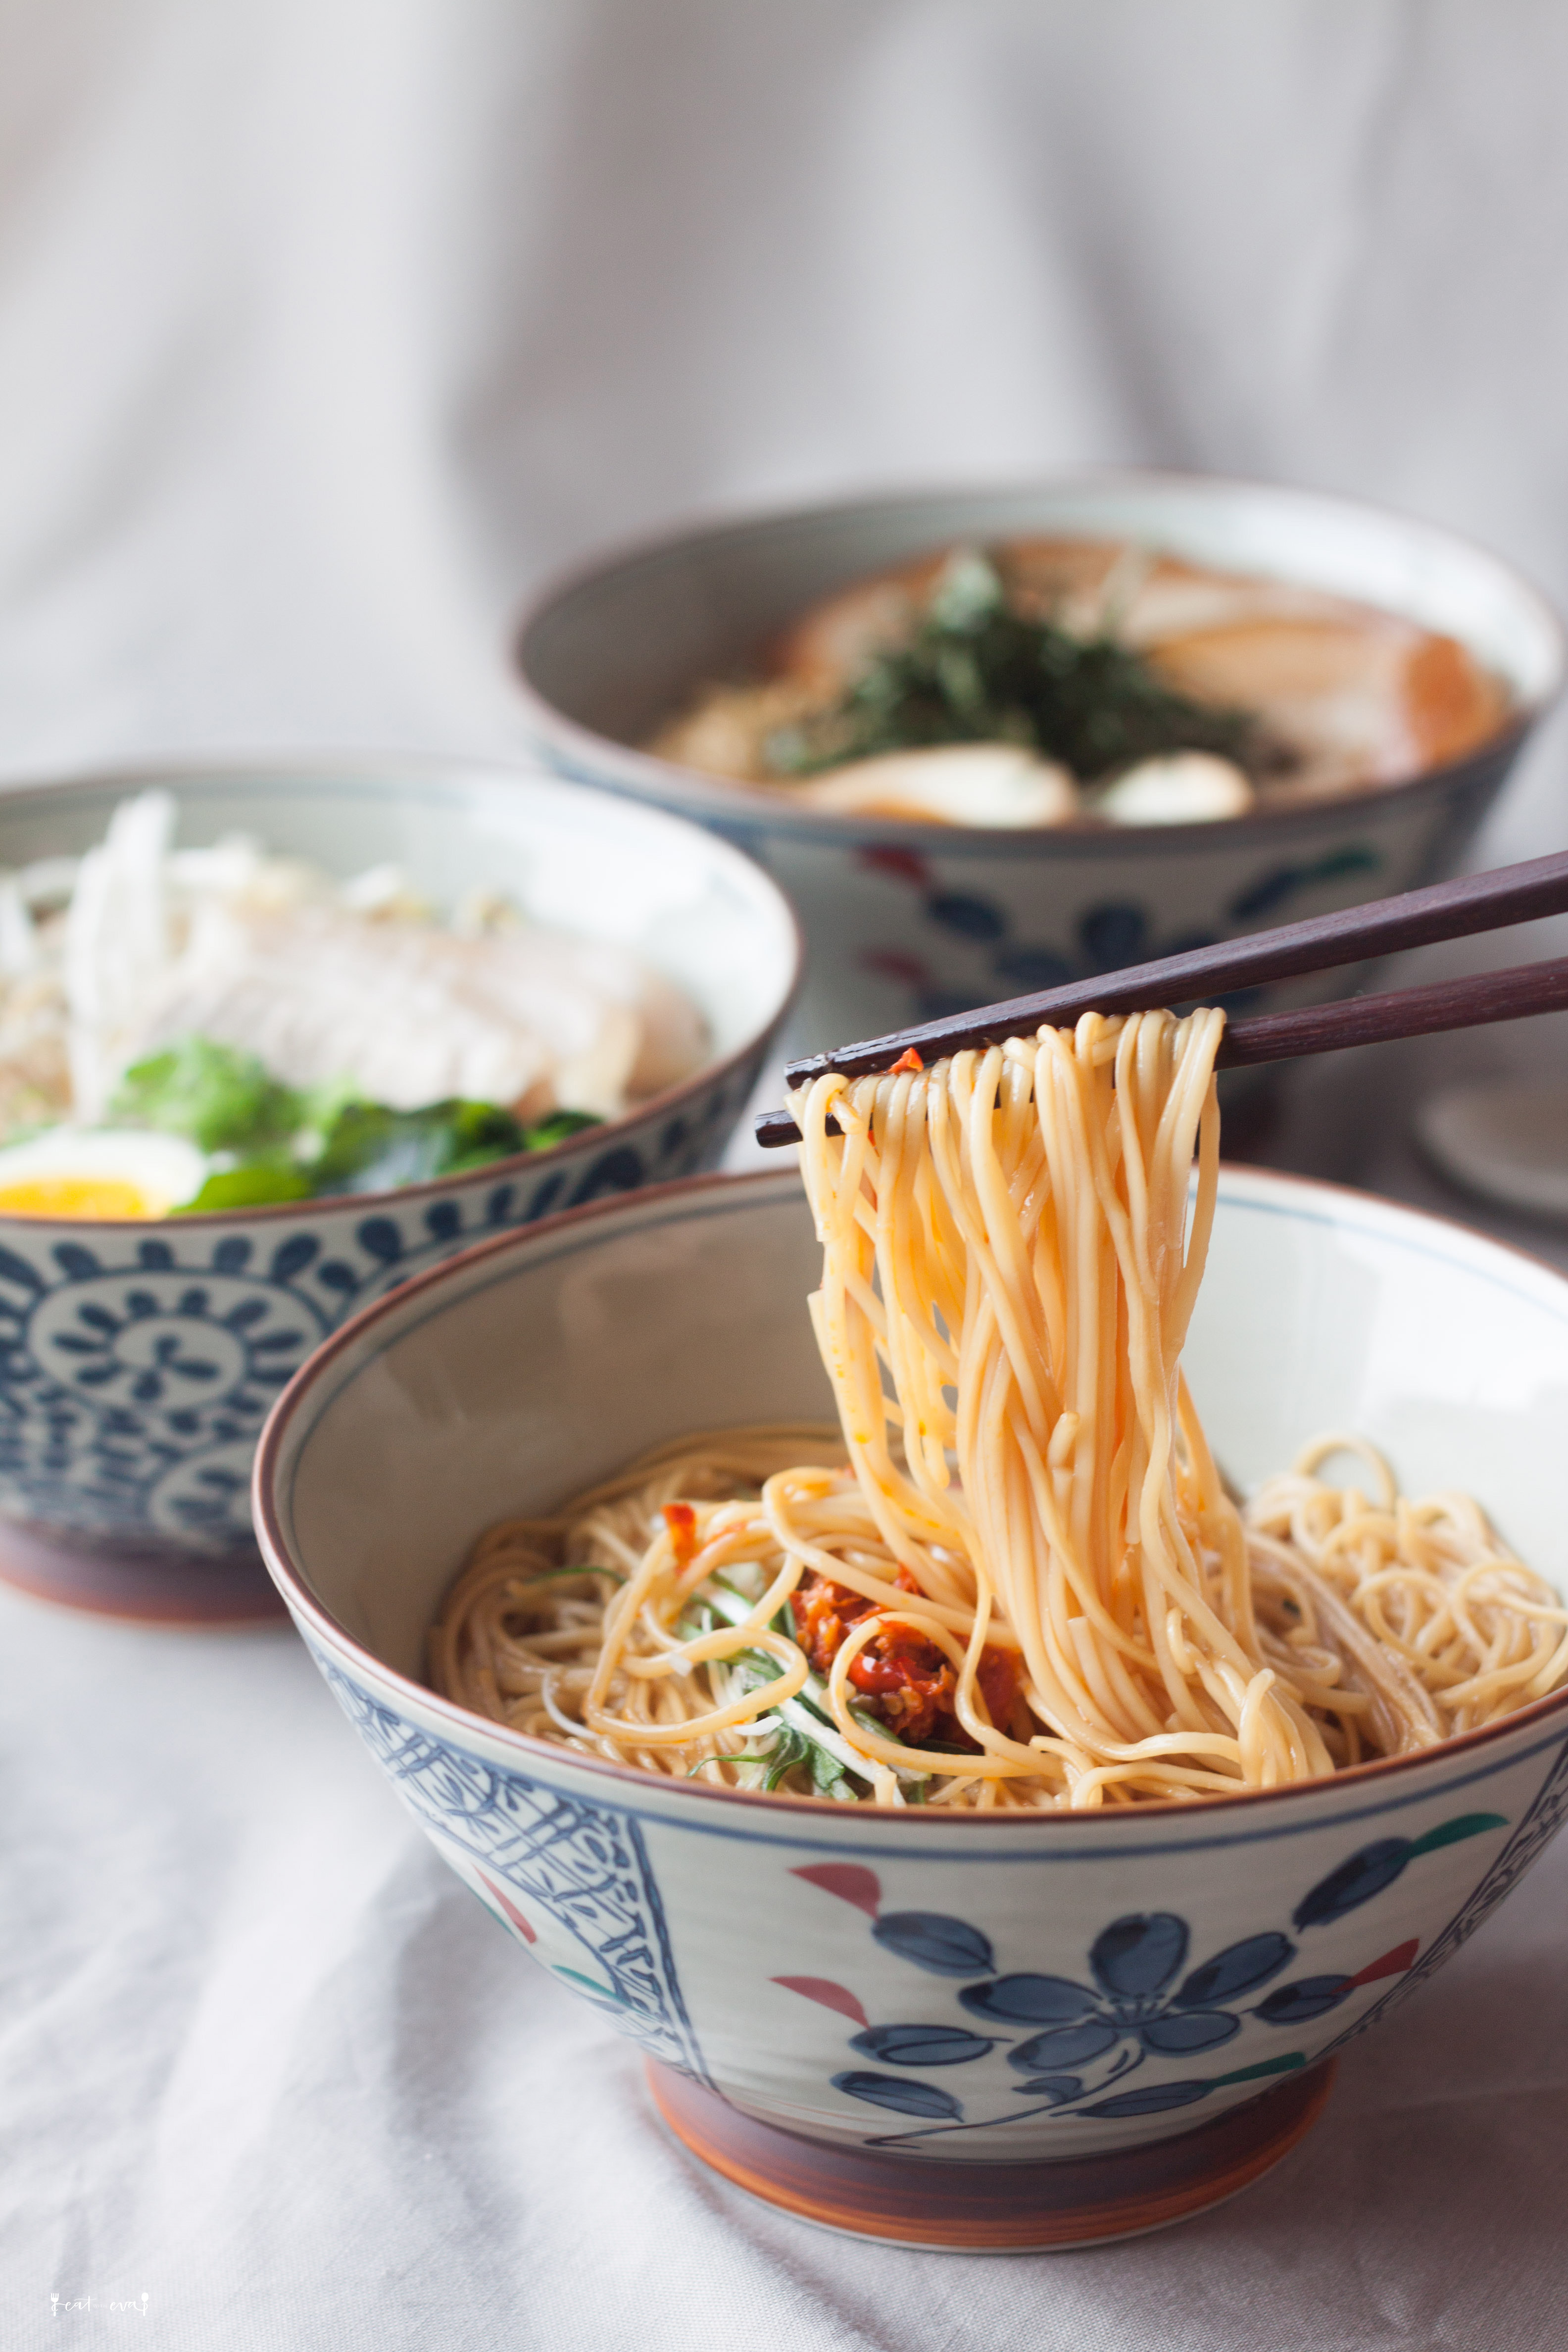
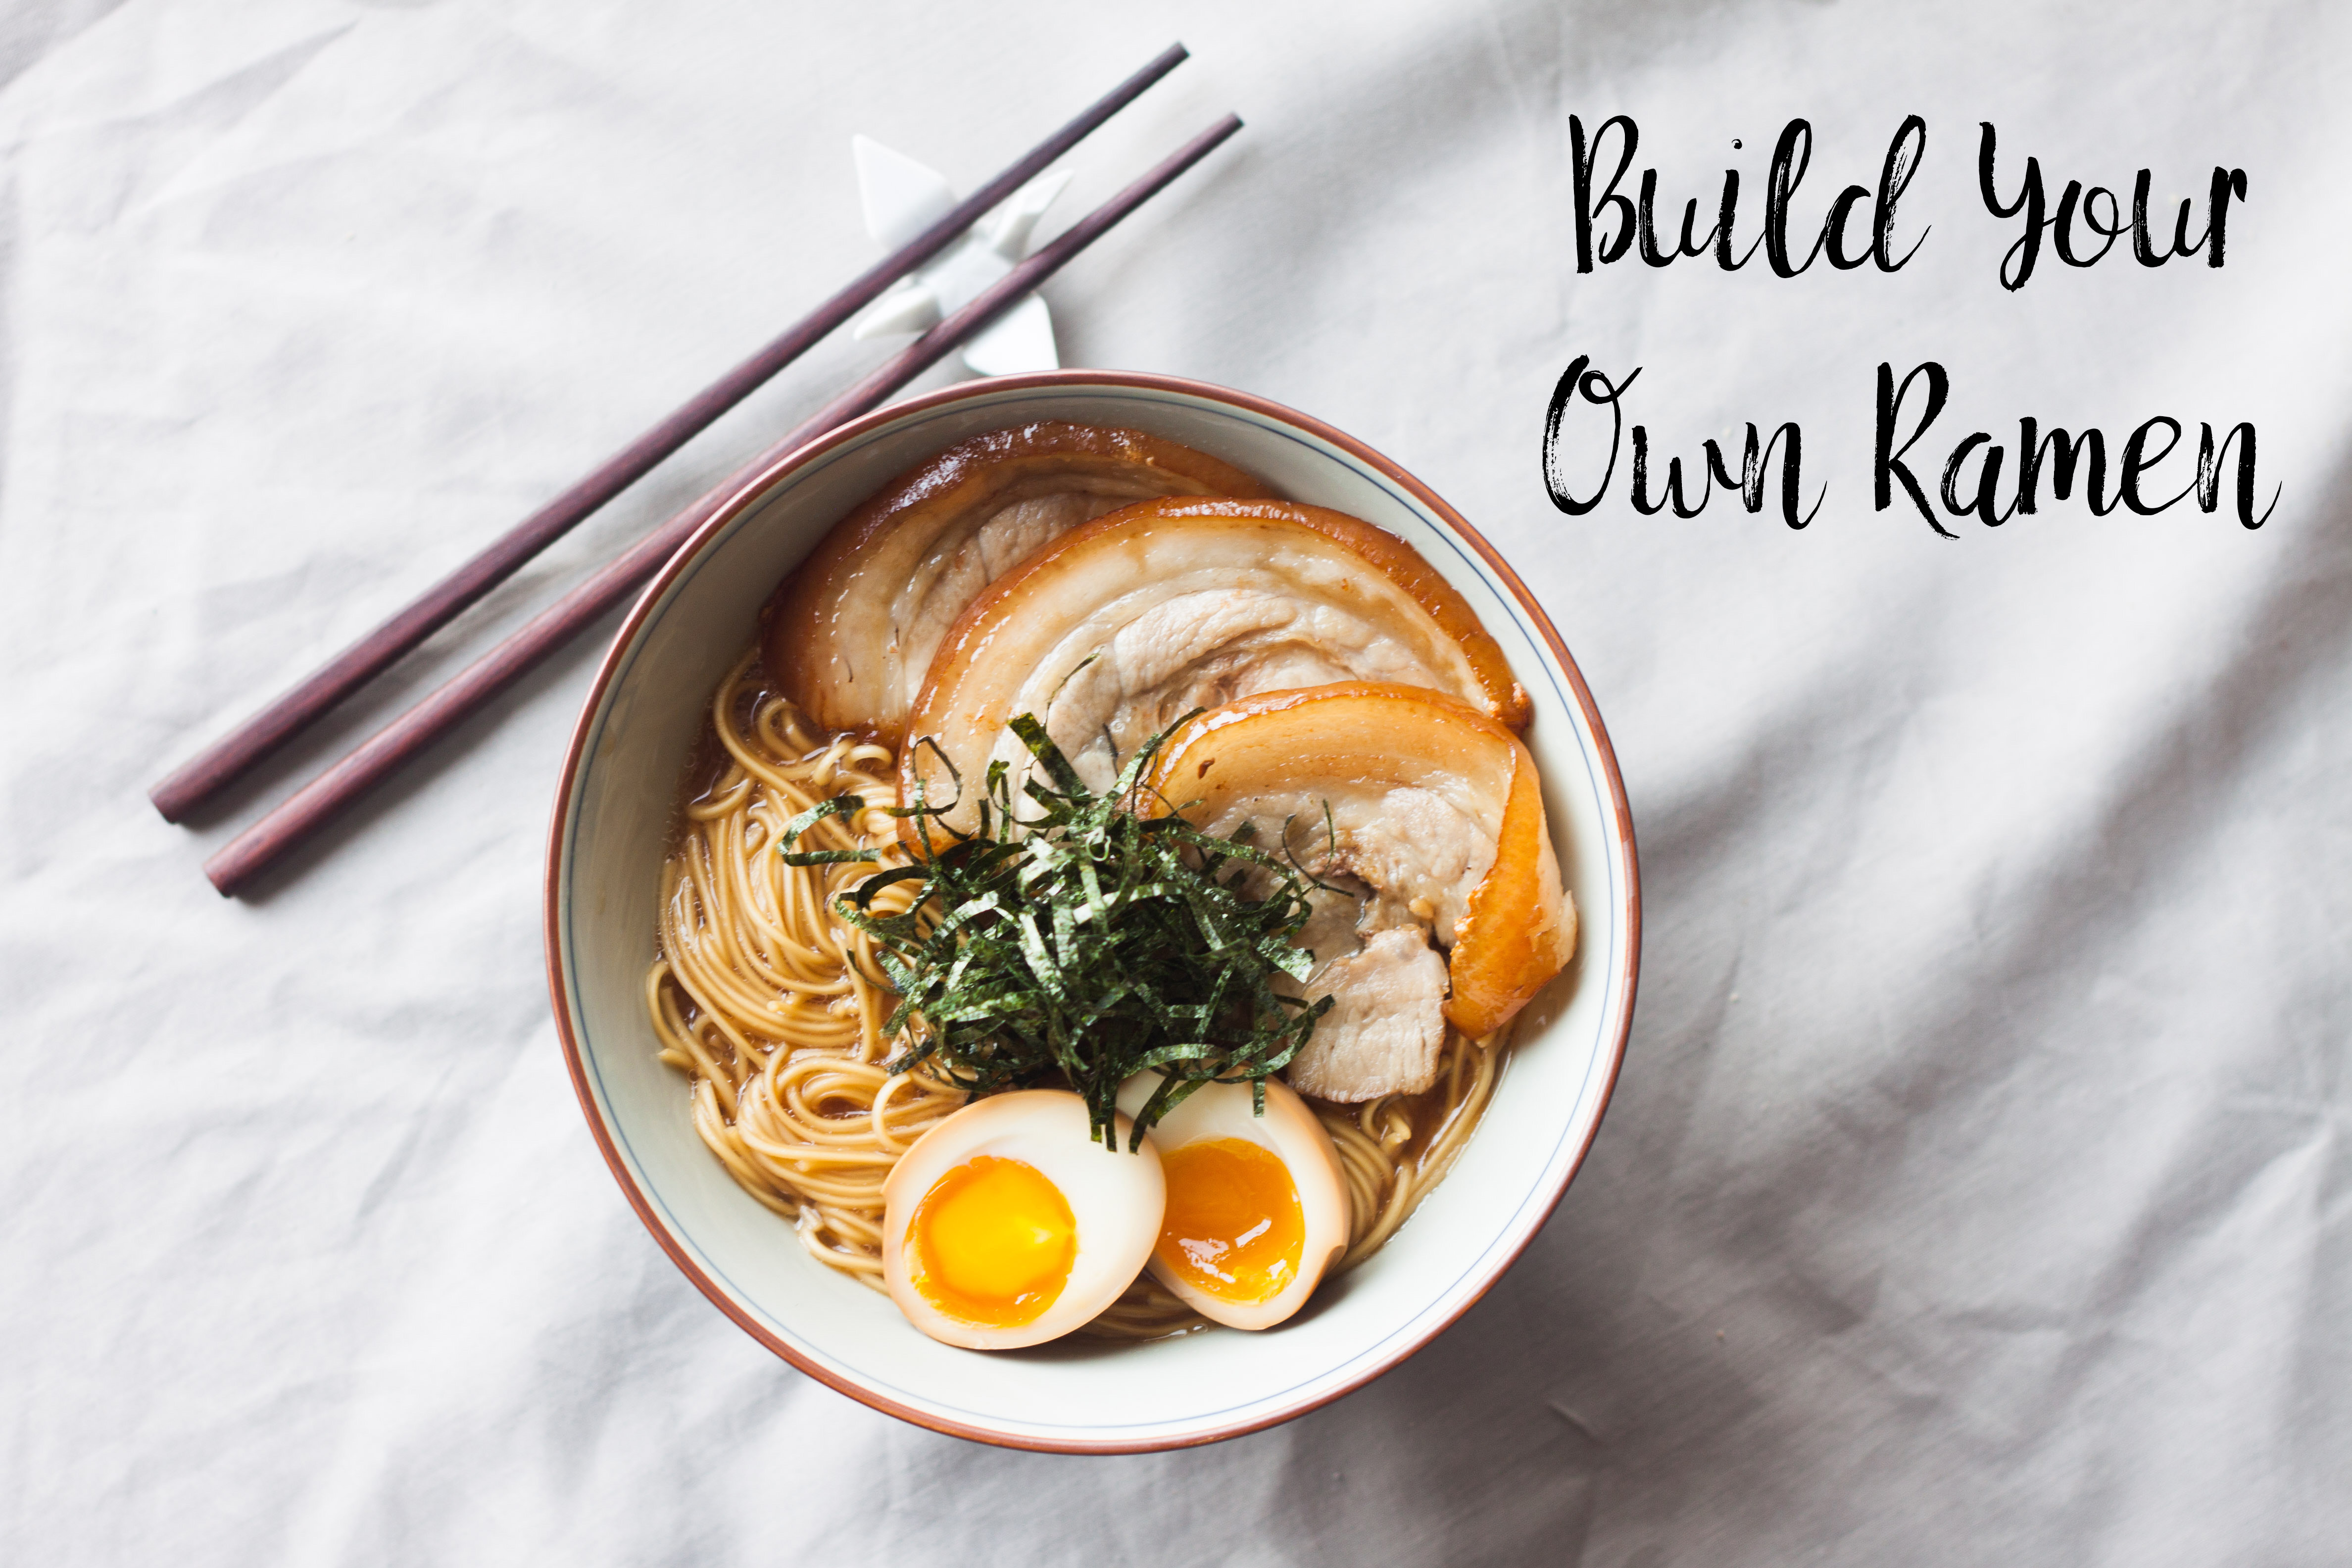
We made 3 bowls, and started with the most basic. Just like how it would be served at Ichiran, a scoop of chili sauce and en chiffonade the spring onions by making it as thin as needles!
Now.. let’s step up the game a bit!
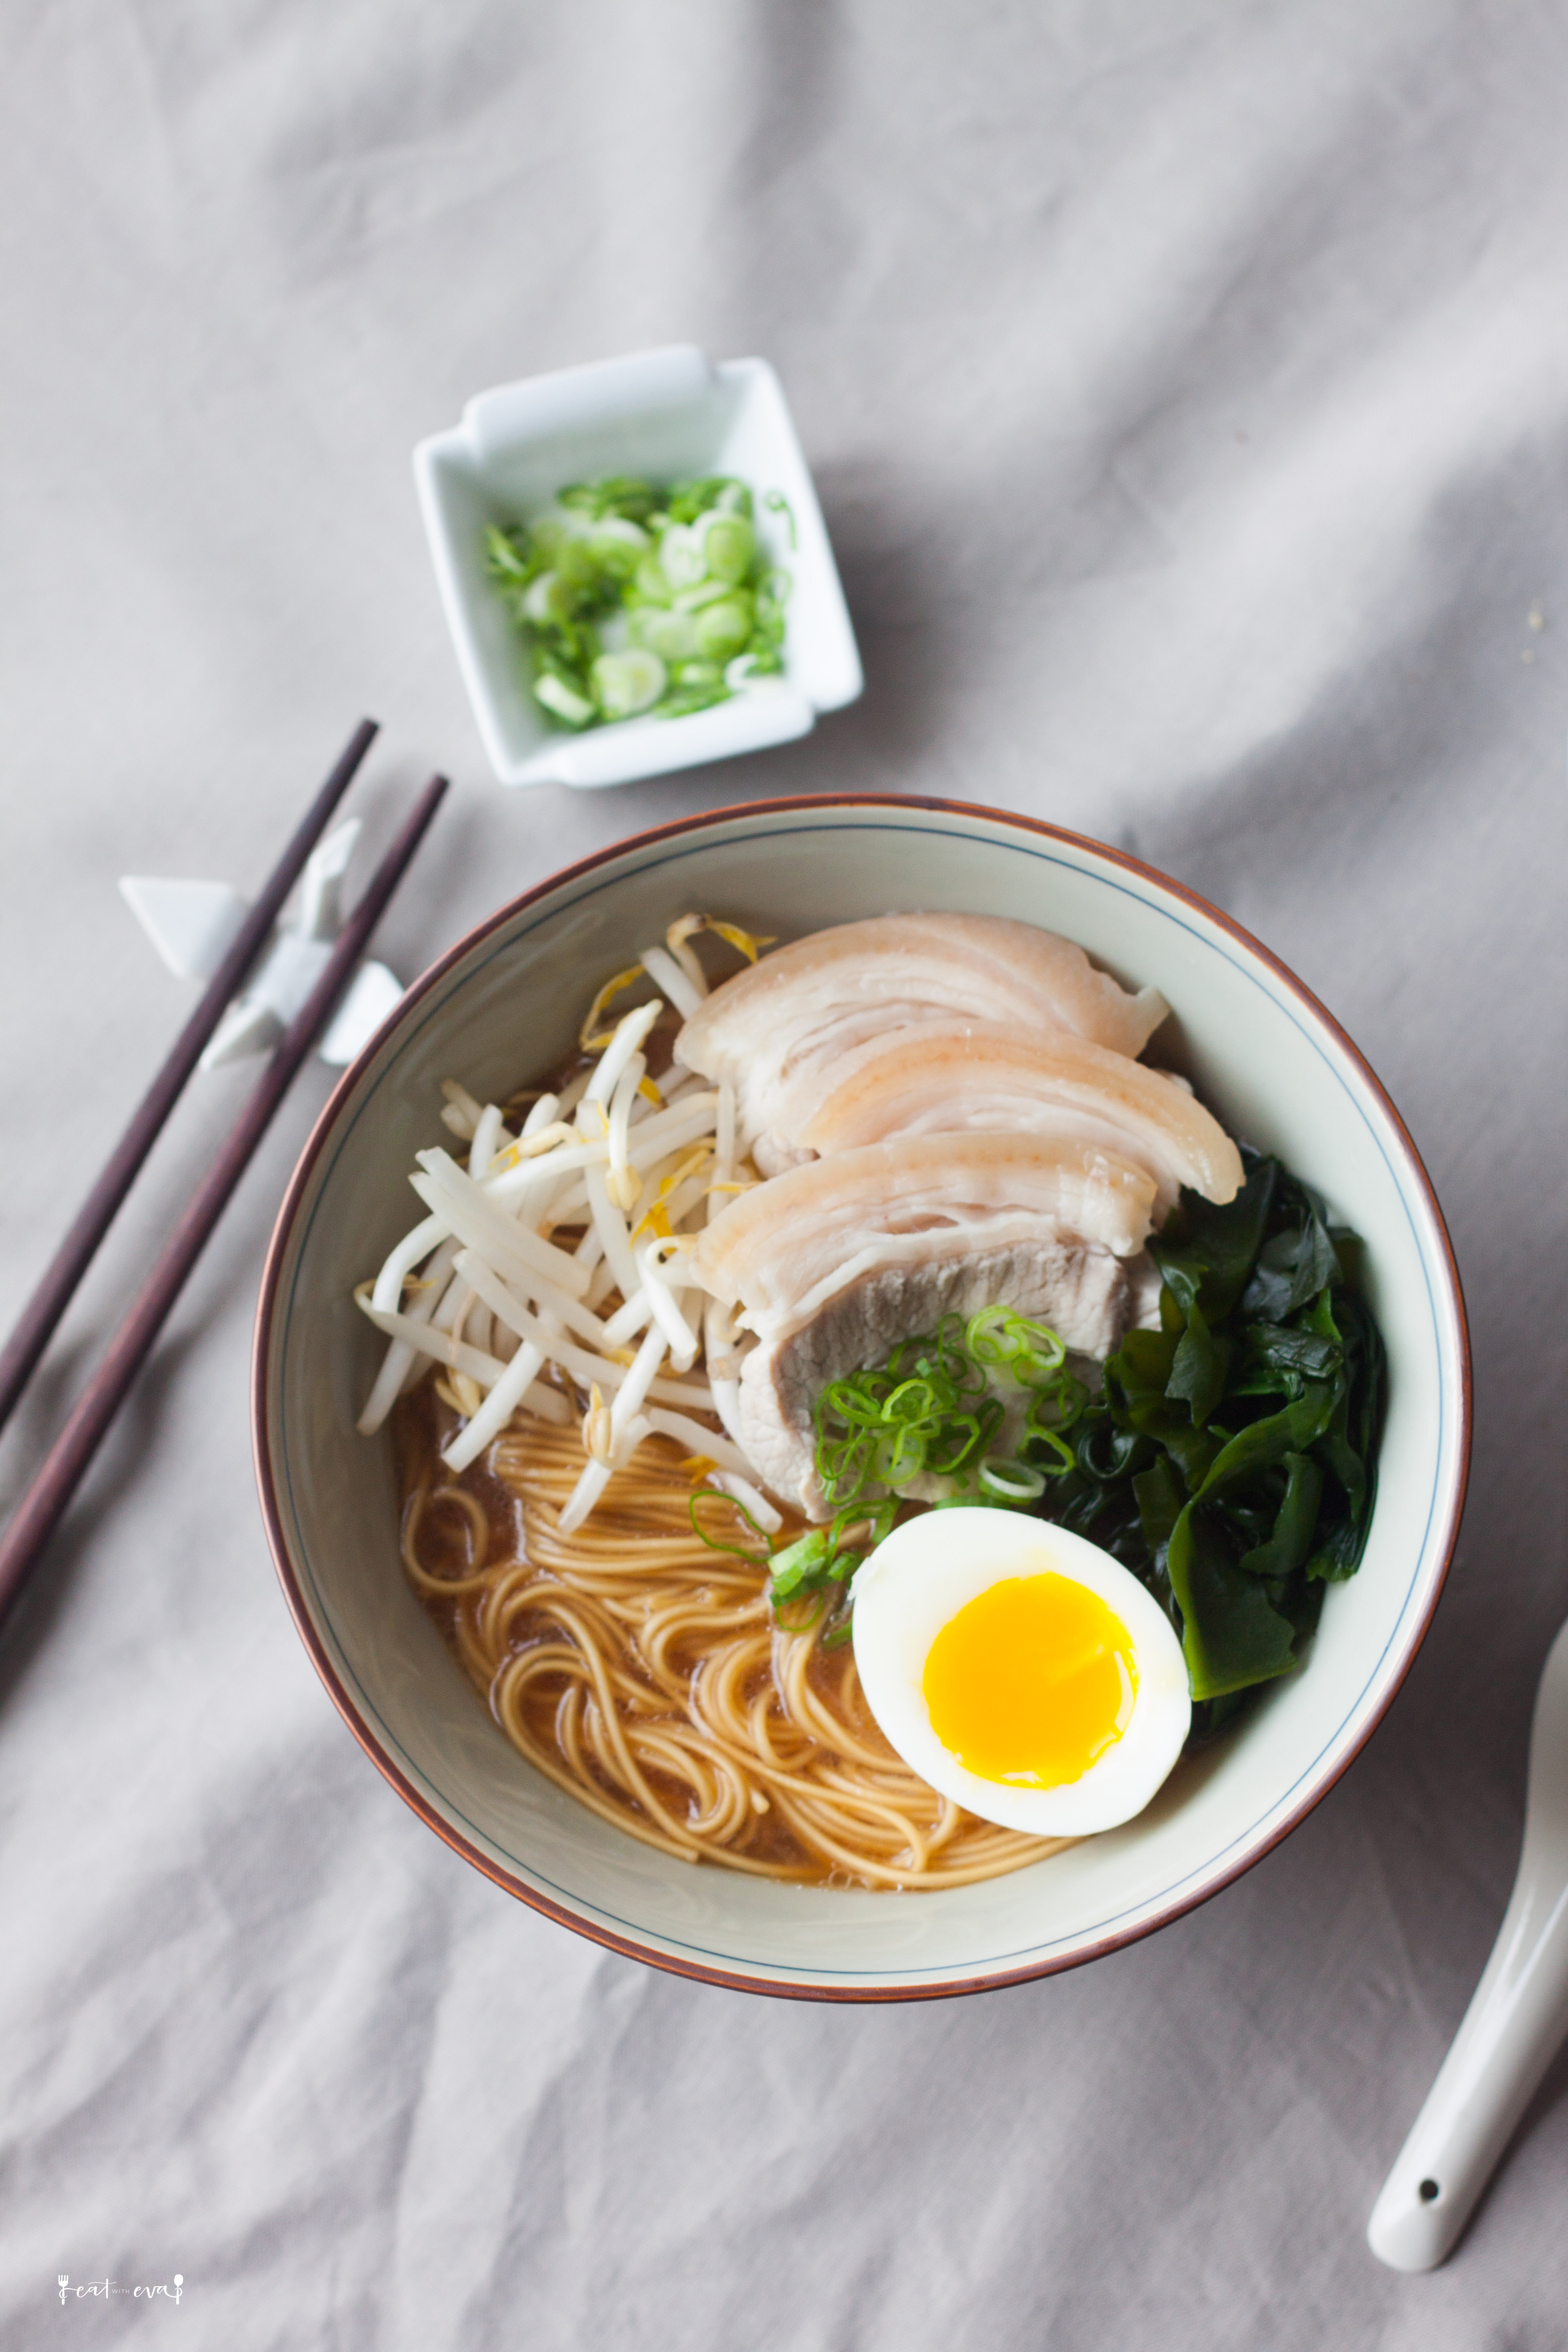
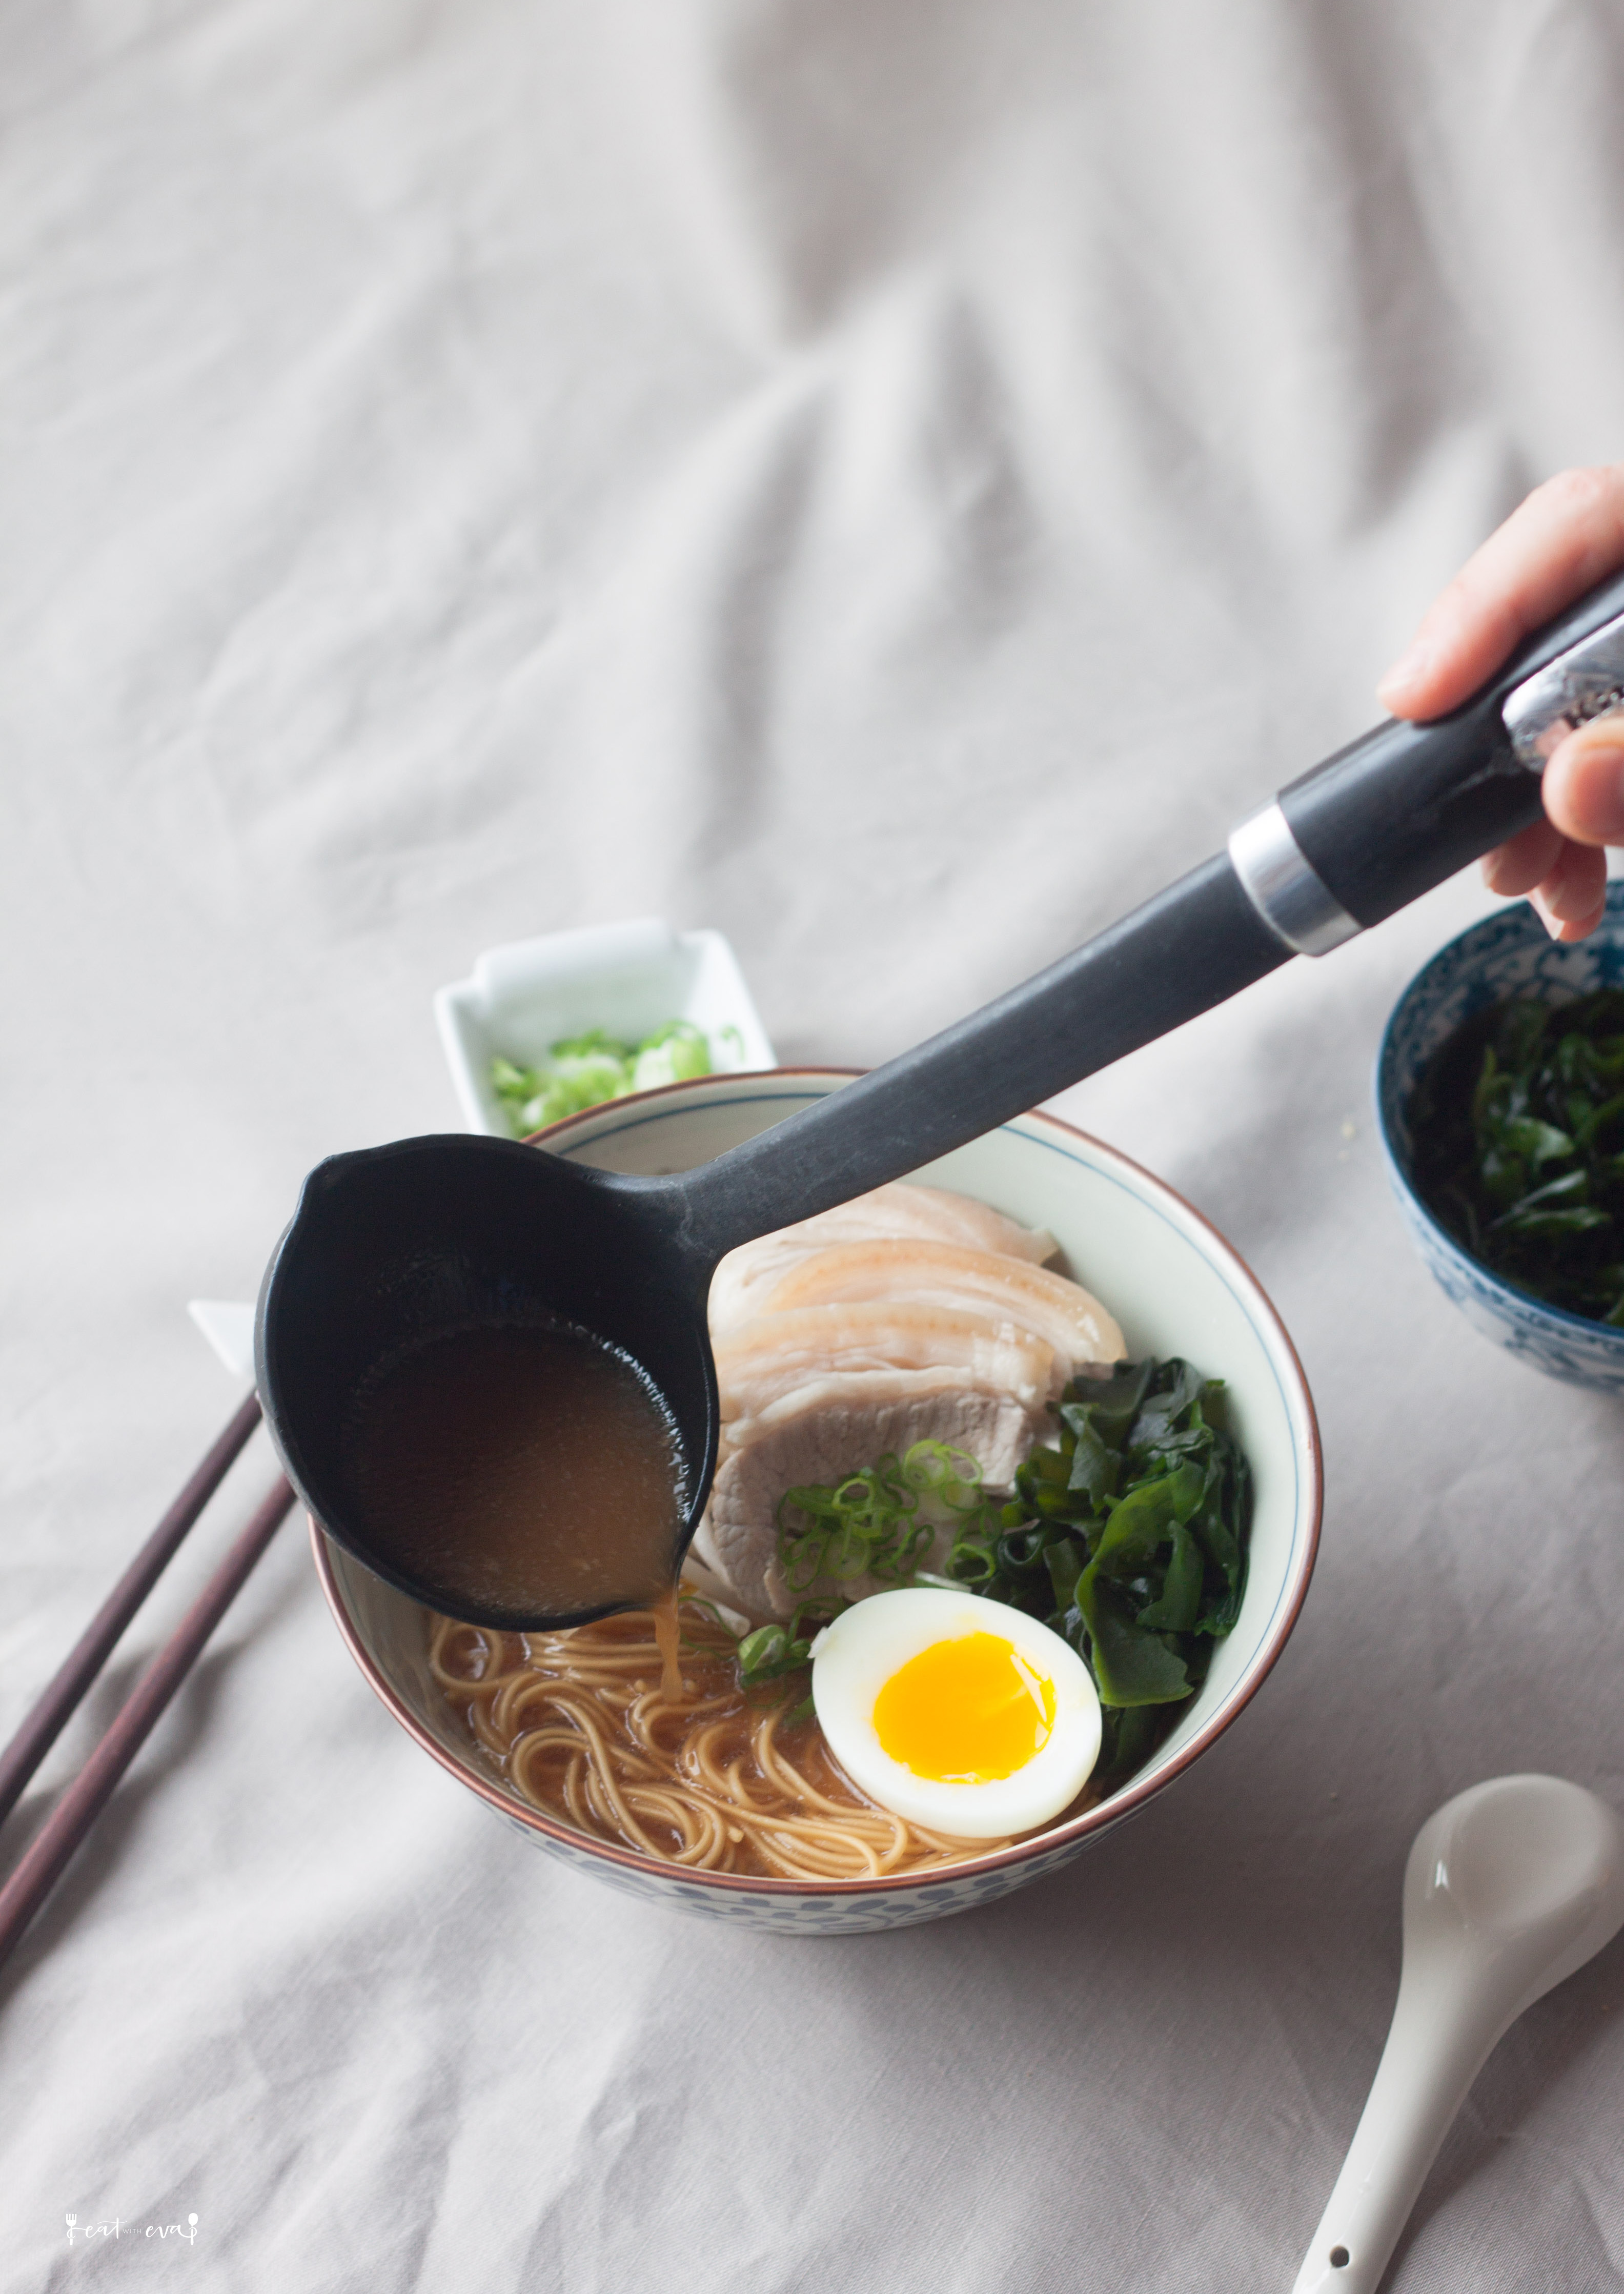
As the ramen broth is already quite rich and salty, I like to have something light as toppings to balance it, and make the bowl more wholesome. The pork belly was simply poached in water with salt, scallions, and ginger, which helped to remove the piggy taste. You only need enough water to cover the pork. Bring the water to boil, then put the pork in. Once the water is boiled again, turn the heat down to low heat and simmer for at least 30 minutes (varies depending on the thickness of the pork belly). How to check if the pork is cooked through? Use a chopstick or fork. If you can poke through the meat easily without reddish liquid leaking out, then it’s done! Simply wait till it’s completely cooled before slicing it. Garnish the bowl with seaweed and bean sprouts for extra crunch and fiber!
If you are someone who can’t live without soy sauce, this may be the ramen bowl that you’re looking for.
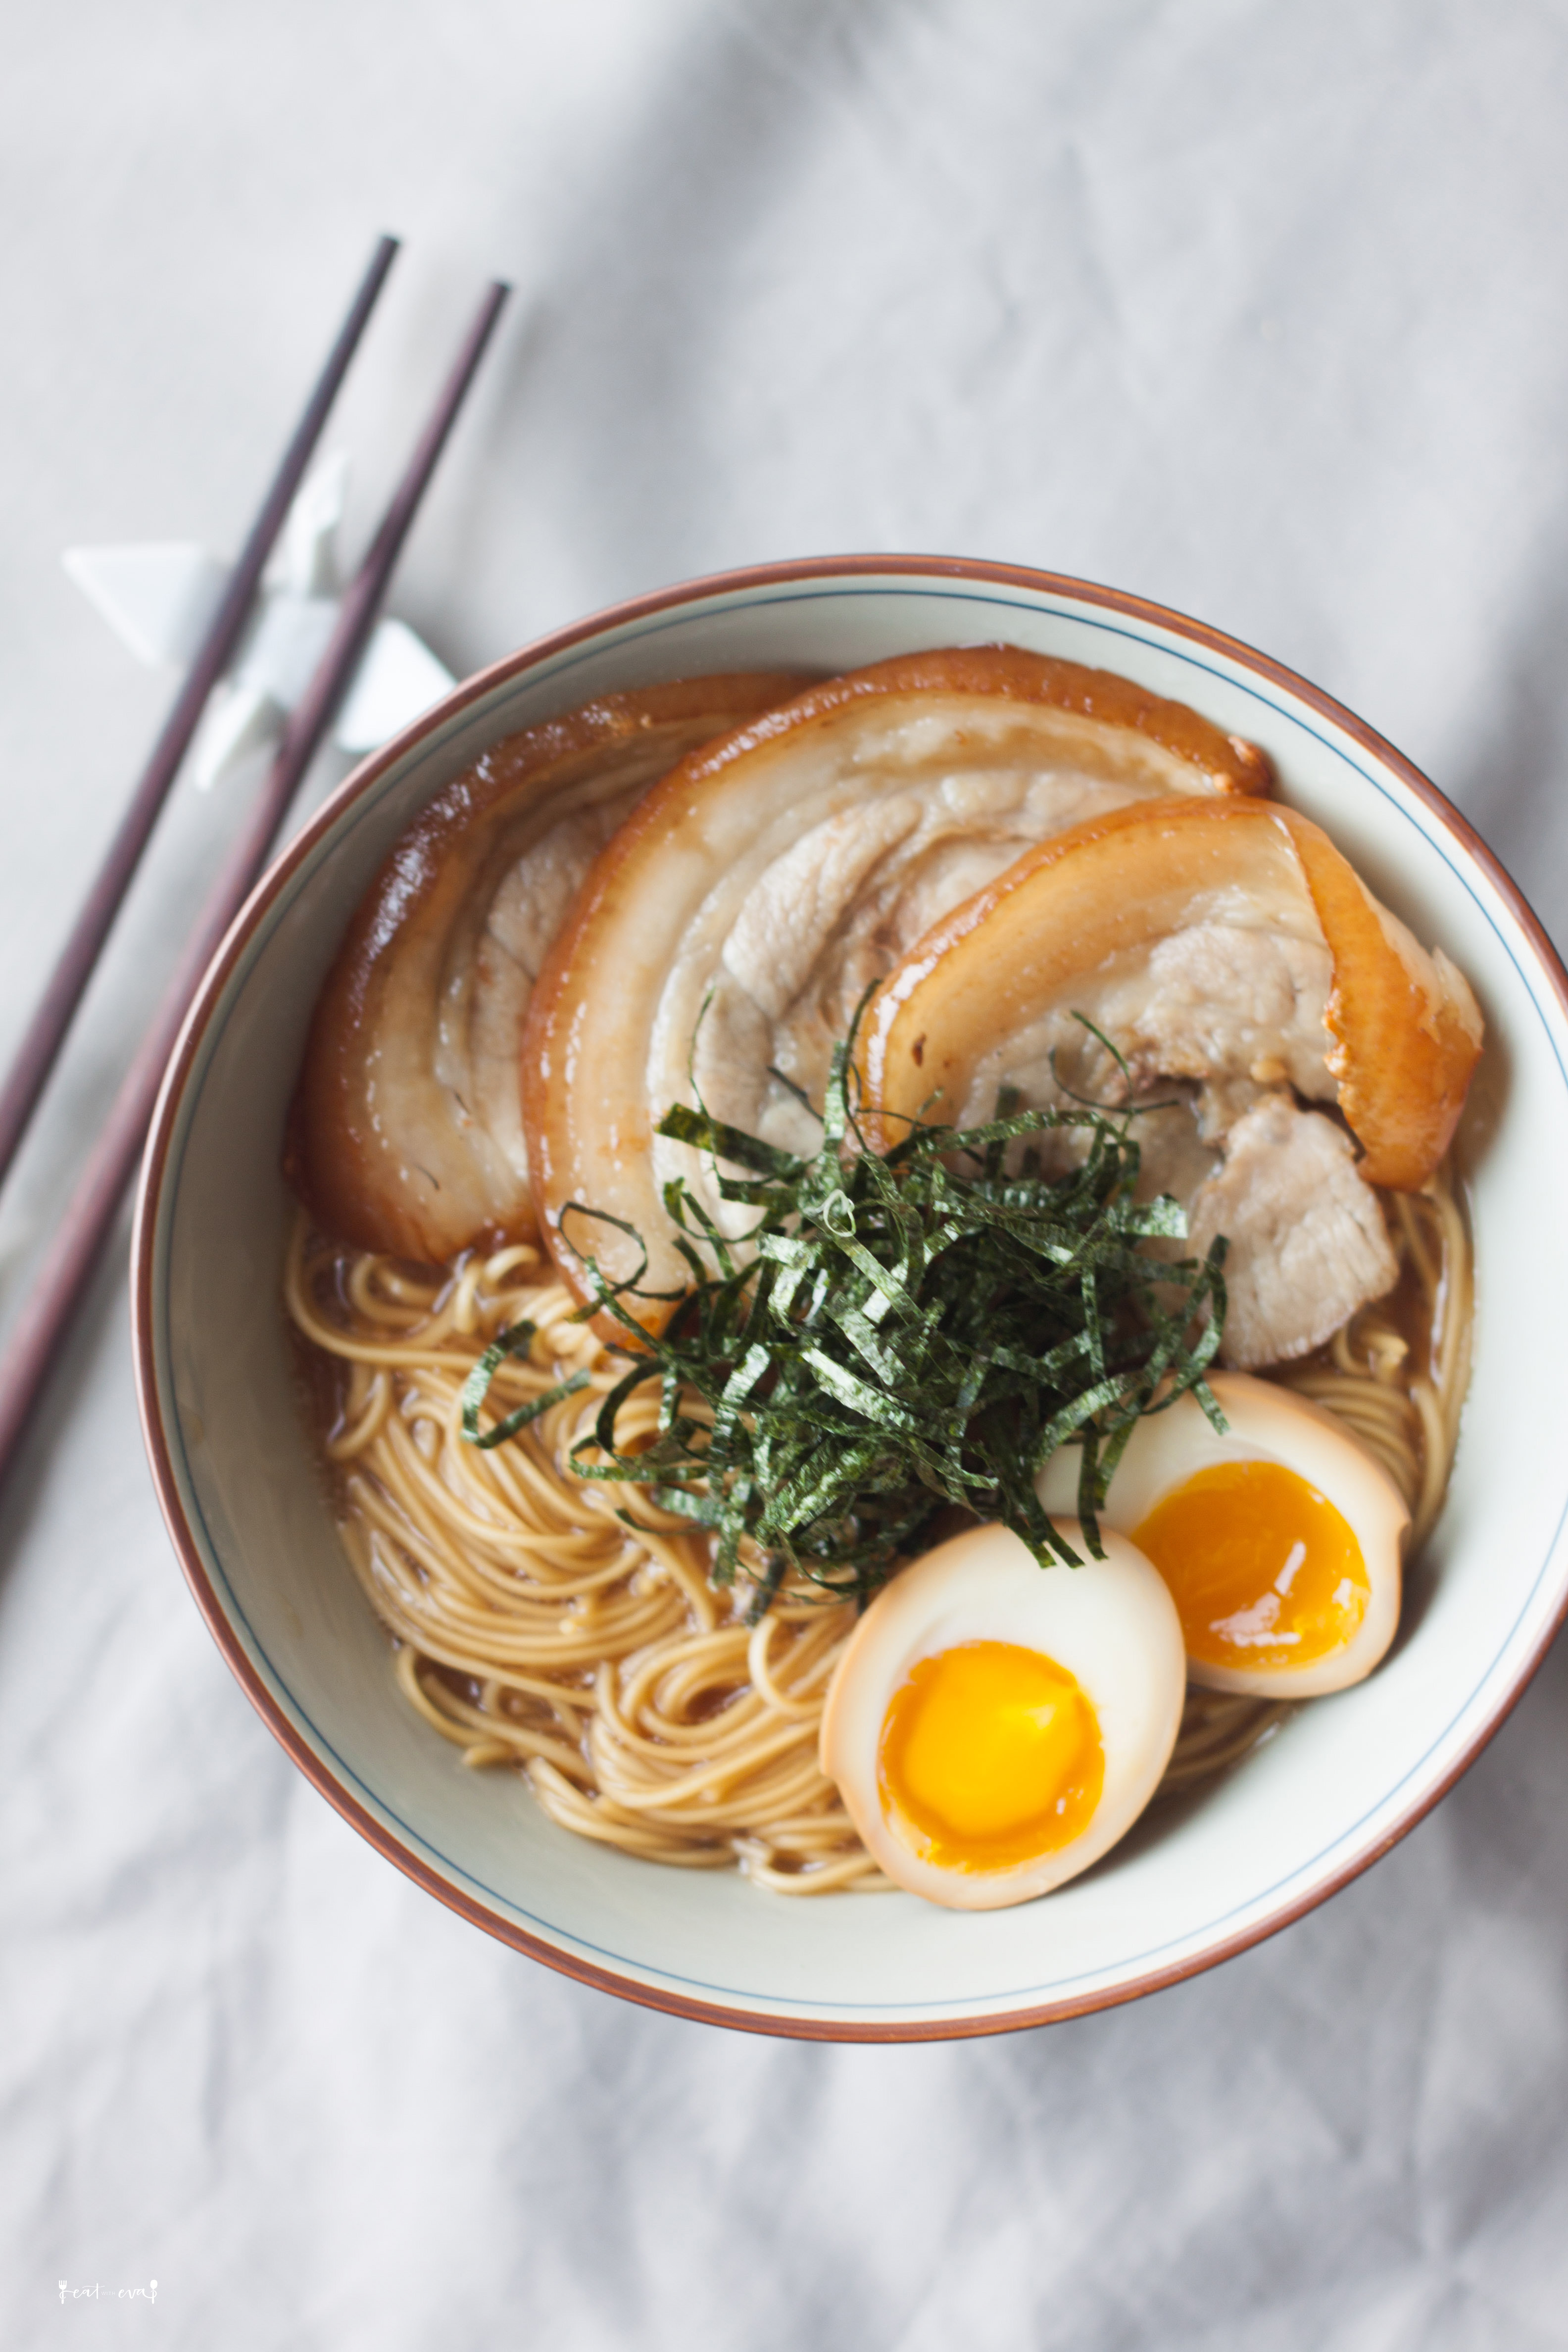
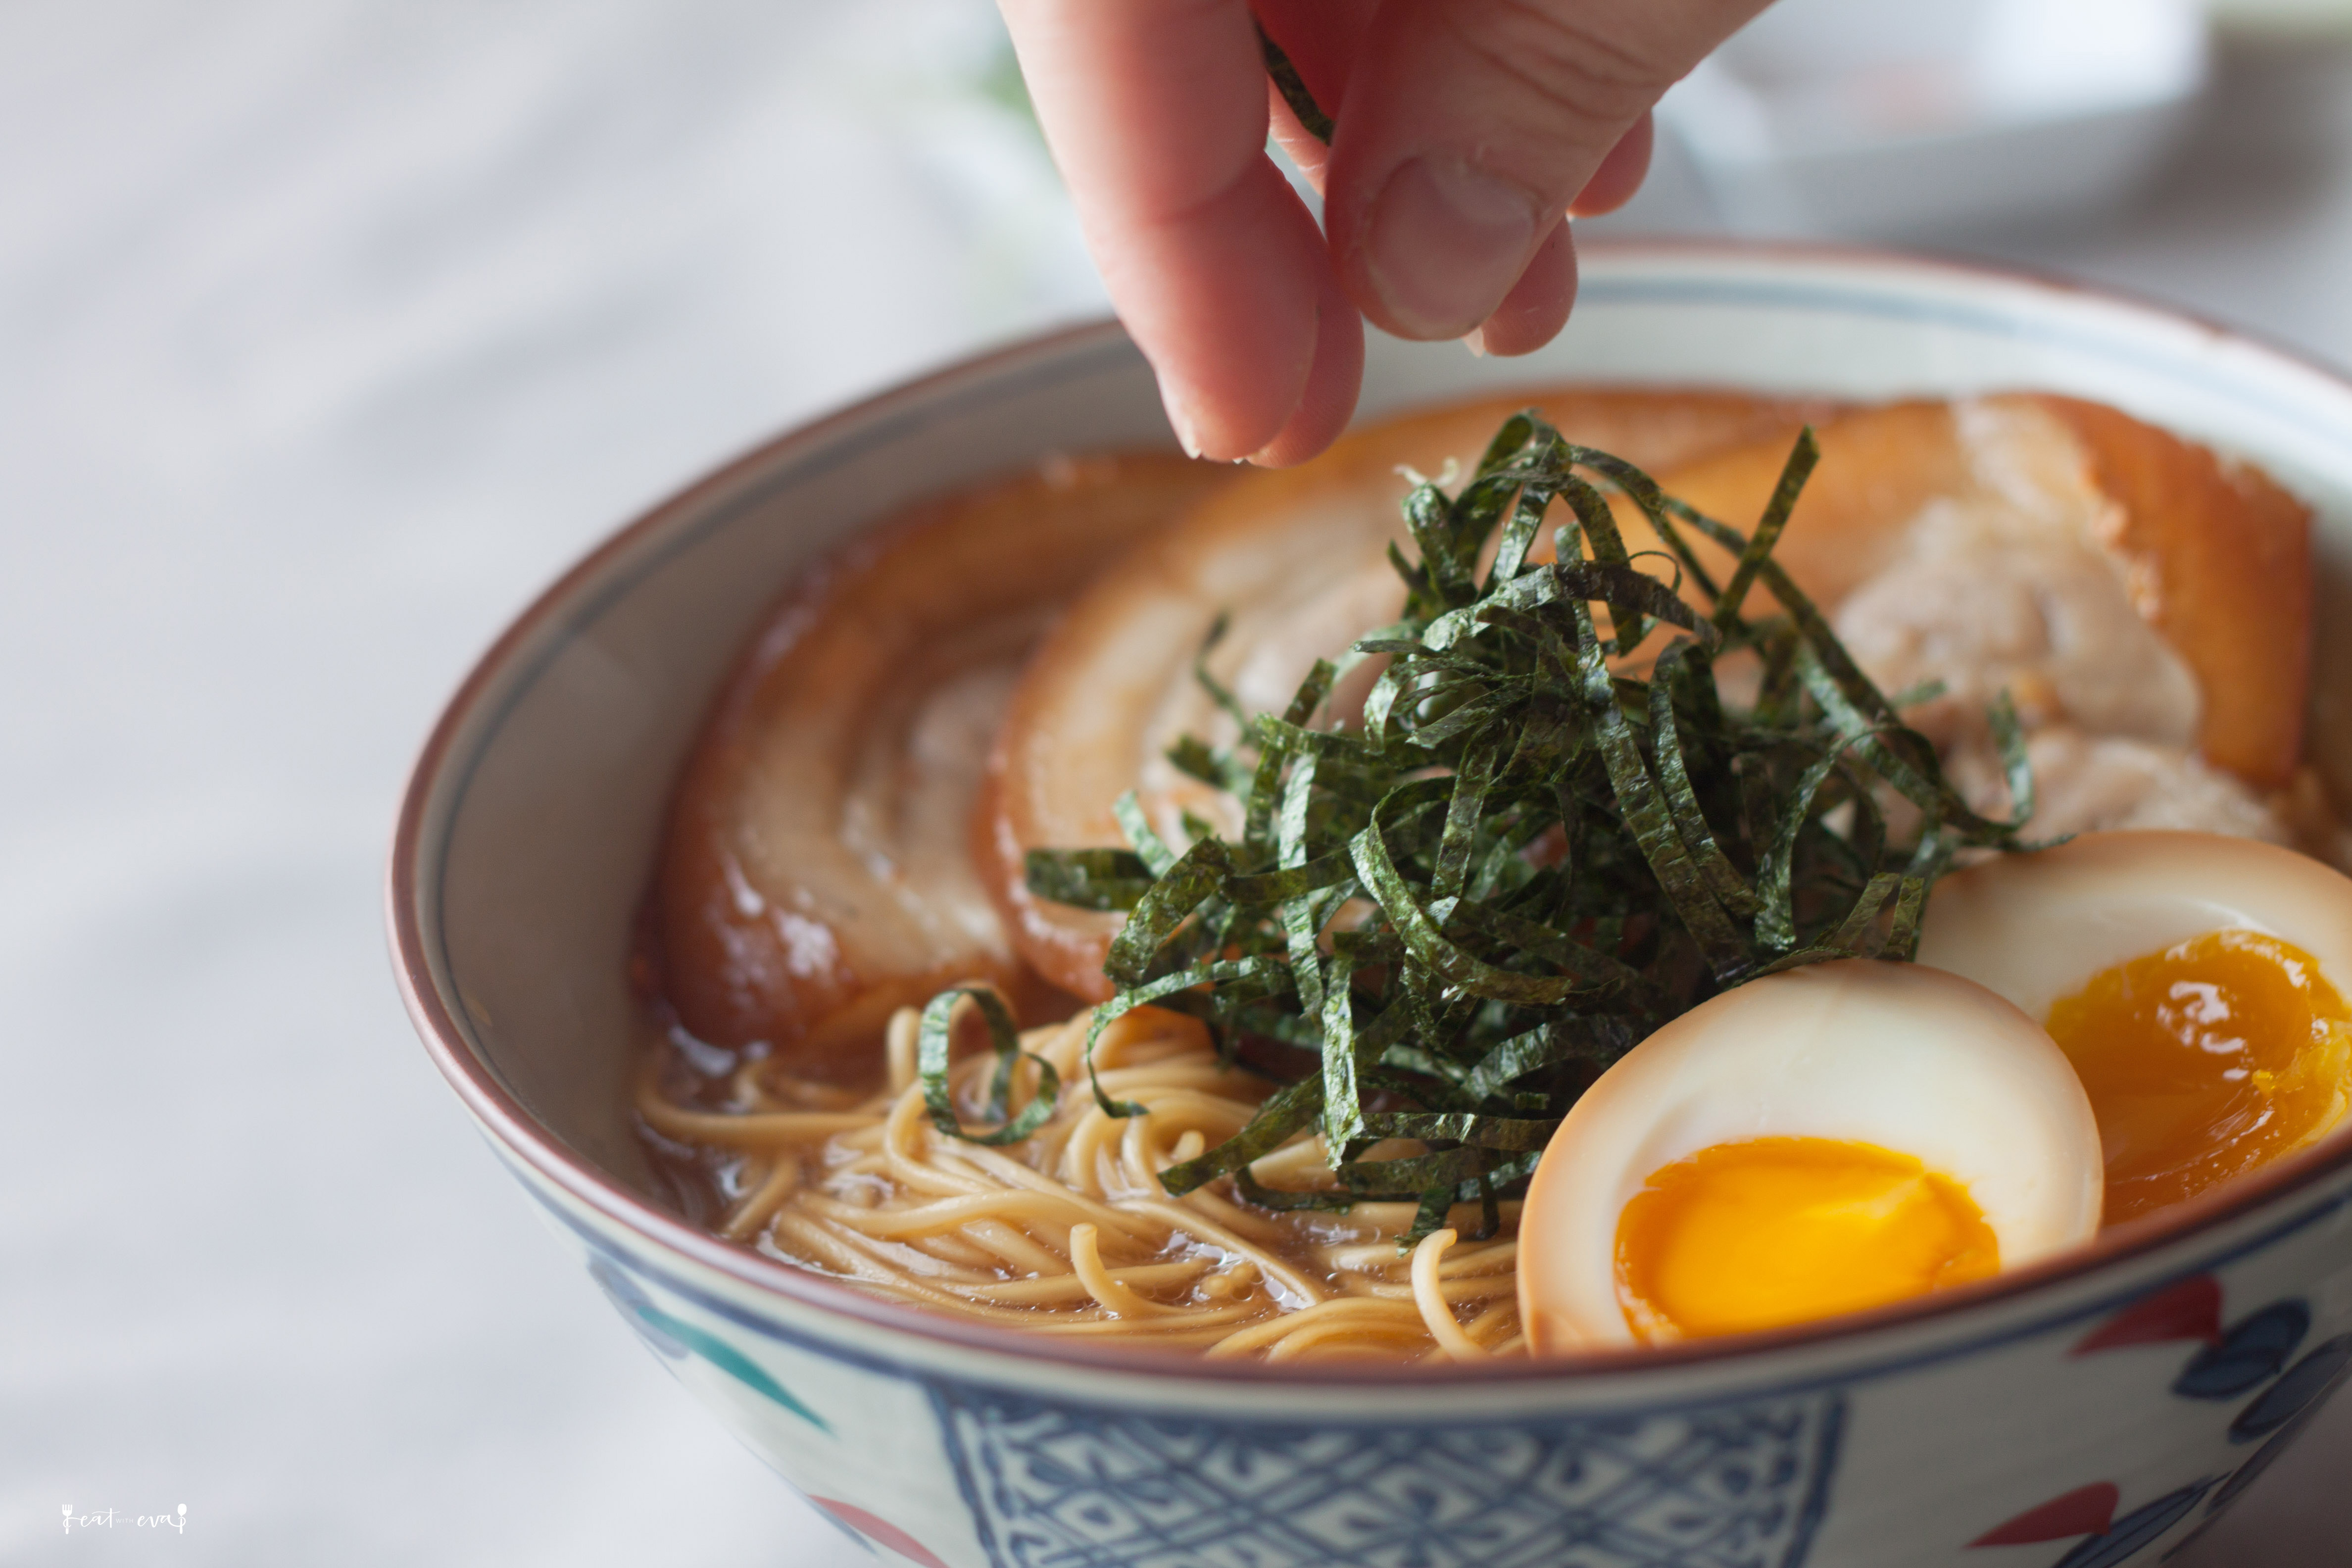
If simply poaching the pork belly can’t satisfy your taste buds, then try this braised pork recipe (posted below). It’s quick and easy. To get the flavors, you’ll be able to have it within an hour. Lightly torched or broiled the pork slices helps with releasing the fats and forming a thin crisp layer.
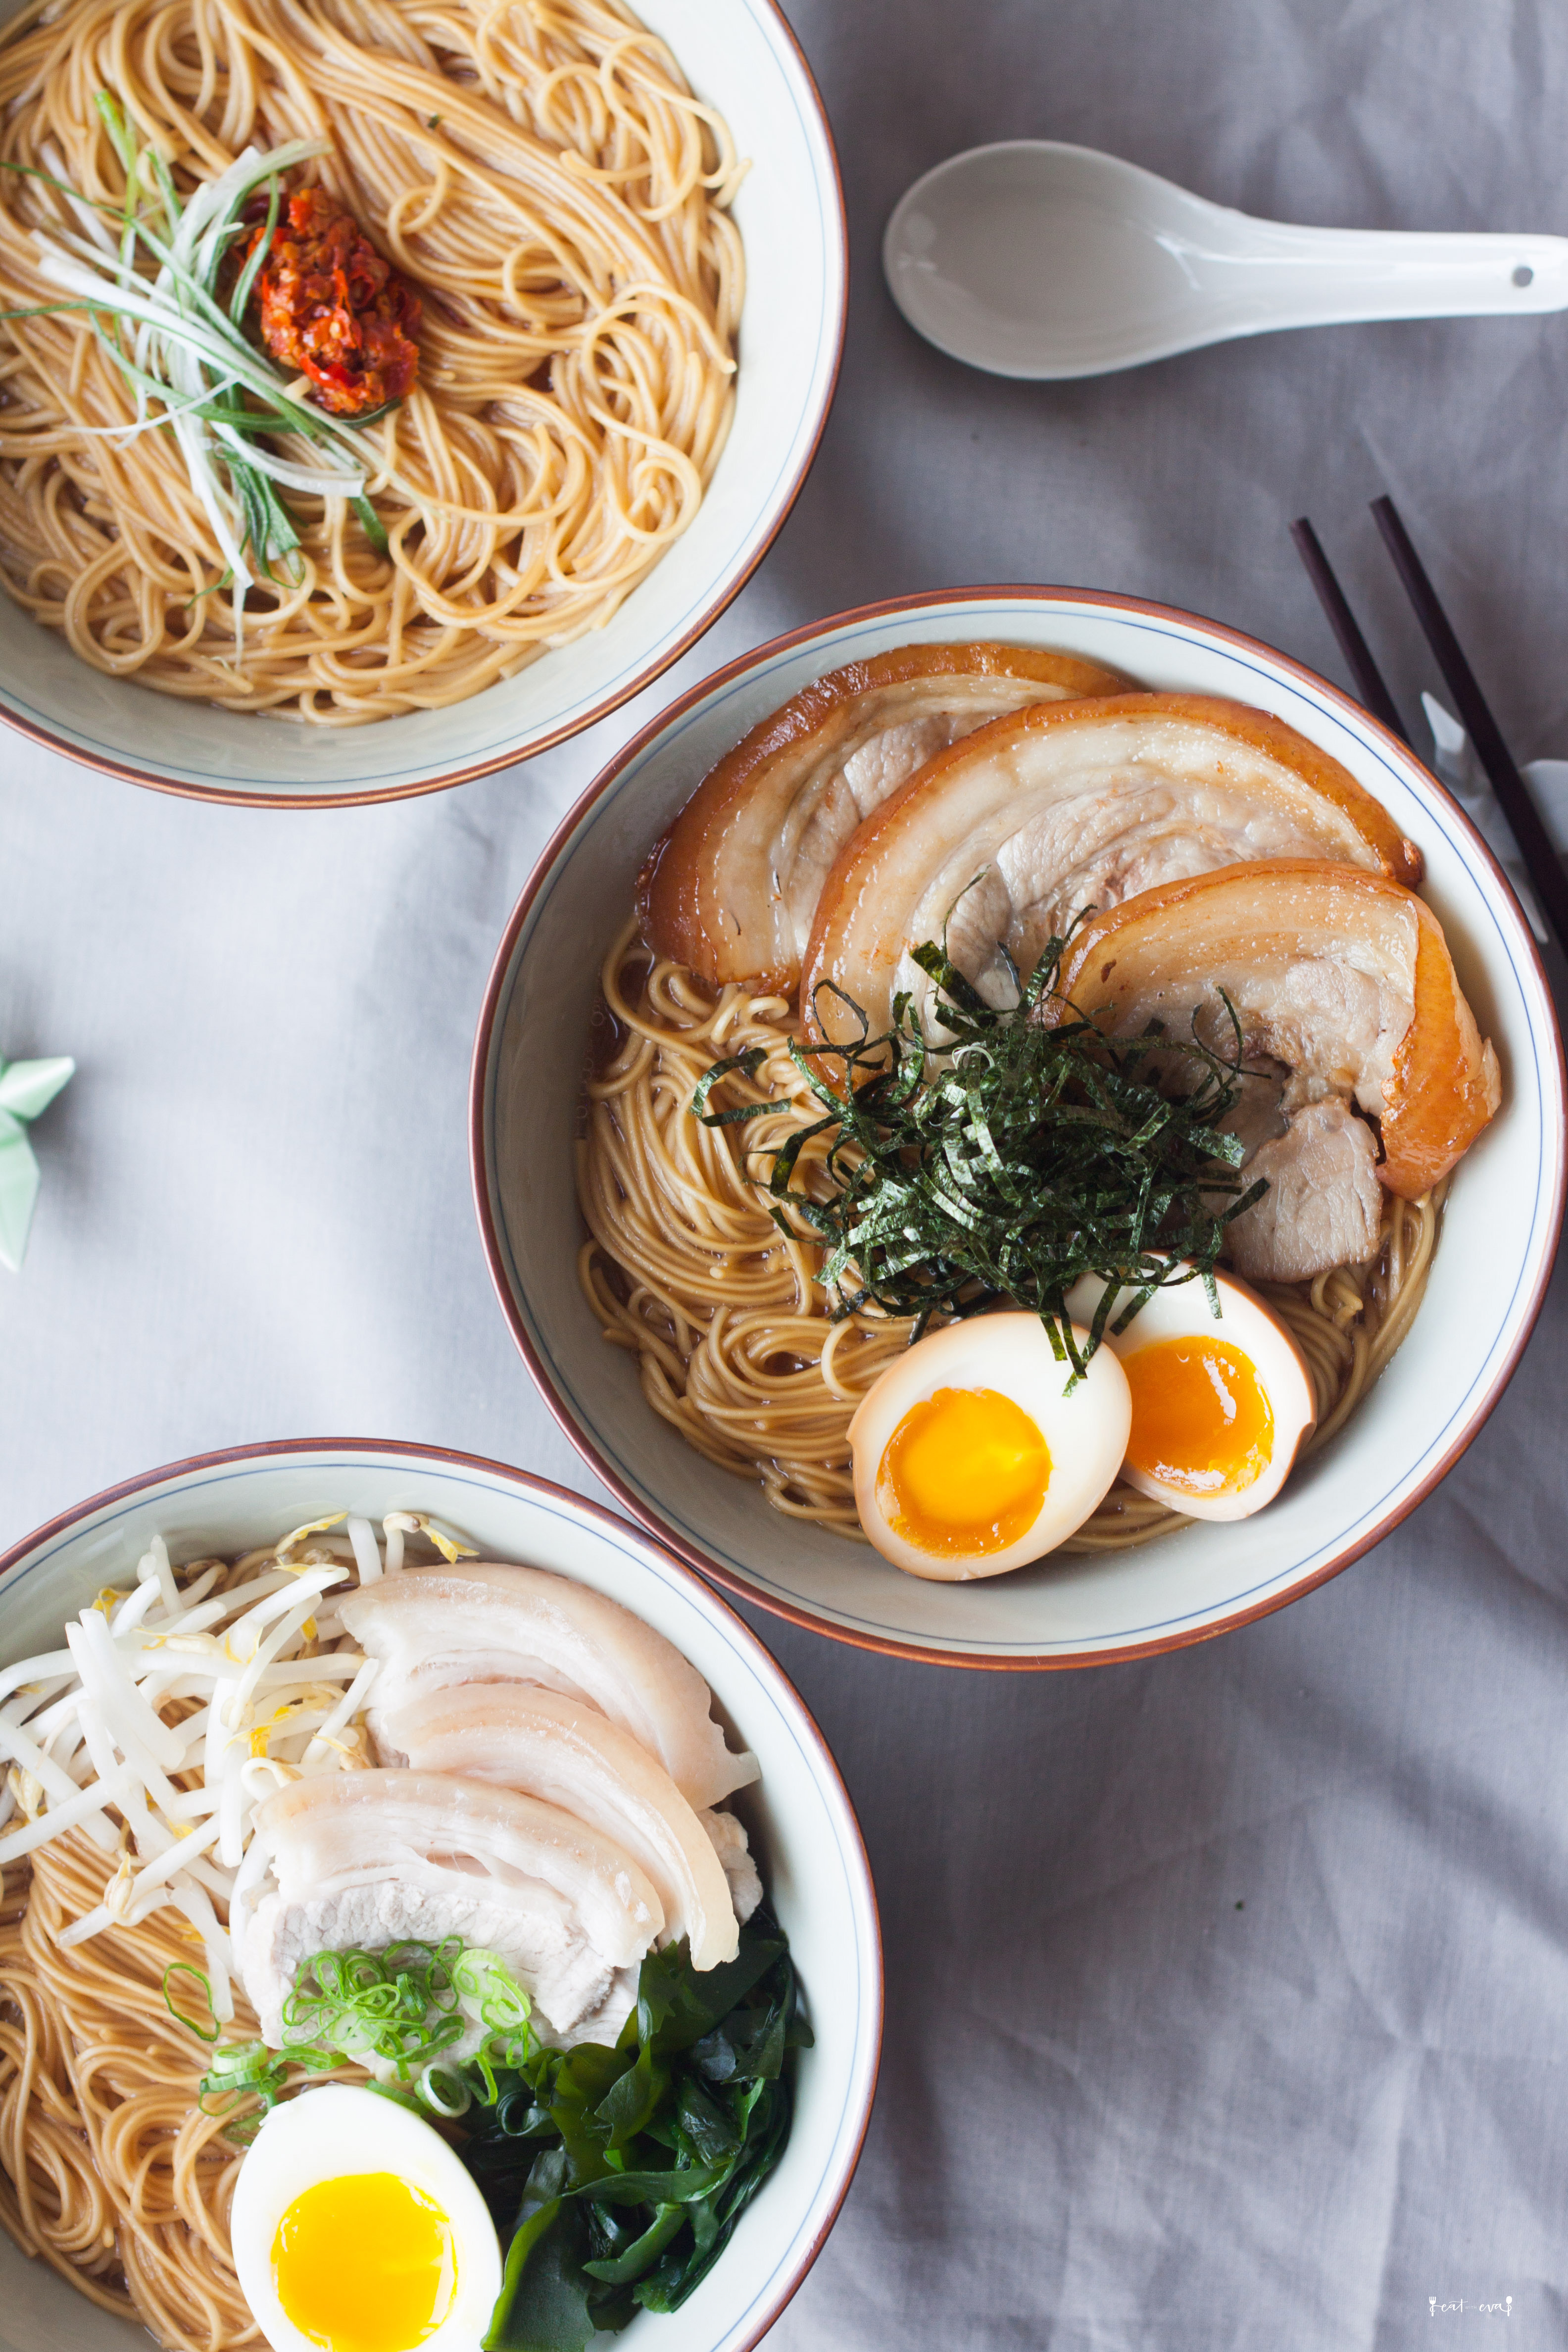
Now, the ultimate question. Which bowl would you like?
- 1 lb Pork belly, boneless
- Water (enough to cover the pork belly)
- ¼ cup Soy sauce
- 2-3 stalks Spring onions
- One 2-inch knob ginger, peeled
- 2 Star anise
- ½ tsp Sugar
- Roll the pork belly into circular shape with skin facing out, and secure with strings
- Bring a pot of water to boil
- Blanche the pork until the exterior change color (to white)
- Discard the water
- In the same pot, sauté spring onions and ginger
- Place the pork belly in, and lightly pan-seared both sides of the pork belly
- Add soy sauce and enough water to cover the pork belly
- Add star anise and sugar
- Cover with a lid left slightly ajar
- Once the water is boiled, turn down to low heat, and let it simmer for at least 40 mins to an hour, until tender.
- When ready to serve, remove pork belly from the pot
- Let it cool a bit before slicing pork belly into thin rounds
- Char the service with a blowtorch (or broil in oven) before serving

To never miss a post, follow Eat with Eva on Facebook and Instagram or simply subscribe! 🙂